I switched to all-grain brewing because I was trying to have more options/control of my brews and I wanted a better tasting beer. My day job as an engineer makes me particular about process details and wanting to be able to repeat successful recipes/brew days or look at detailed notes and figure out where things went astray if I end up with less than expected results.
One of the first details I started chasing when I switched over from extract to all-grain was conversion efficiency, or getting all the extractable sugars out of the grains and into my wort. After honing in on a few common aspects and correcting them, I started studying the grains to get clues of how to further improve repeatability in conversion efficiency.
Looking at a batch of spent grain in my mash tun after ending up with a much lower OG that predicted, I noticed a lot of my grain kernels were still whole/uncracked. Since the husk doesn’t dissolve in water, if you don’t get it cracked before you mash, all those sugars stay trapped inside and don’t dissolve into your wort. And this is a possible reason for lower than expected OG.
Most homebrew shops will crack your grain for you for free, and if you’re like me, you assume they know what they’re doing and don’t bother looking at the grain. But the reality is it goes beyond knowing what you’re doing, and gets into the mundane aspects of your workday. If a particular grain needs a smaller roller spacing to get the husks cracked, or if over time they’ve drifted apart, the only way you know if you’ve got a good crush is looking at the product on the other end of the mill and checking it. If it’s not crushed enough, you have to adjust the roller spacing tighter and run it through again. If you’re an employee in a homebrew shop filling lots of orders, you might assume the guy before you set it up right and not really look at it- just grind and bag.
After finding a low OG and seeing a batch of spent grain after mashing that looked like this, with a large number of whole, intact grains-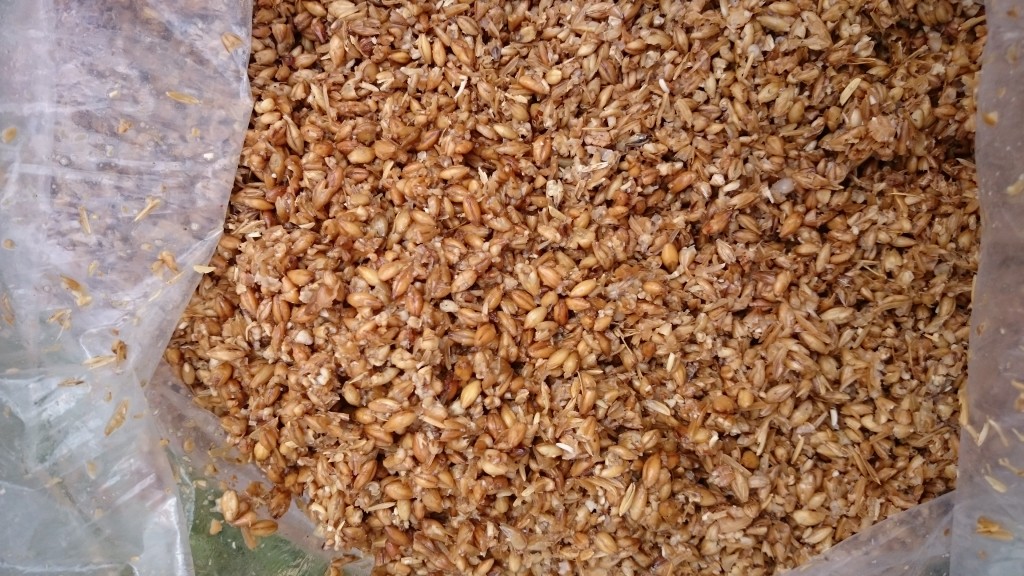
 I decided I wanted to take matters into my own hands and buy my own mill. Not everyone wants to fork out $100 to do that. But if you don’t, you really should take care to examine your grain BEFORE you brew. Seeing it after mashing like I did, you’re too late to do anything about it.
However, if you see it before mashing, like this- 
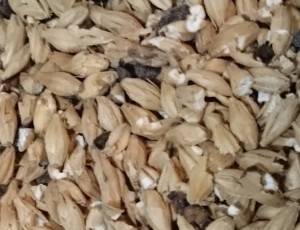 you can adjust and correct it. You also do this check immediately after milling the grain. I learned the hard way that checking it the moments before I was about to add it to the mash tun left me scrambling to run inside and re-mill, and trying not to let the water overheat or cool off that was at my strike temperature.


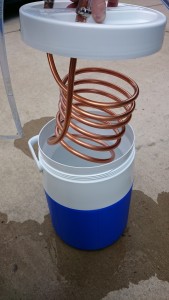
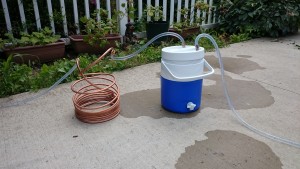
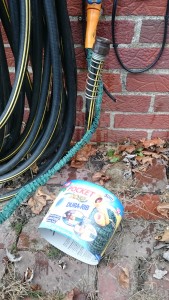 “pocket hose”. I keep it inside with my homebrew kit and when it’s time for wort chiller action, I bring it out, hook it up to the faucet and am ready to chill. It worked well, and was much better than monkeying around with a frozen garden hose at a time when I’m trying to chill my wort fast.
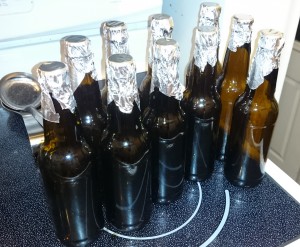 and set the oven to do a timed cook at 320 degrees for 2 hours and 15 minutes. I do that the night before and they are ready to go the next day. Or even sit around a few days because I’ve got the convenient aluminum foil “lids” on them.
 had taken up residence in one of my empty bottles in the basement. Had I not done the “one last rinse” just before my sanitizing, that little guy would’ve been in the bottle as I unknowingly capped him with aluminum foil and stuck him in the oven for a couple of hours. That would have been a “The last time I ever had homebrew story…” for someone had one of those come floating out as I was serving my family.
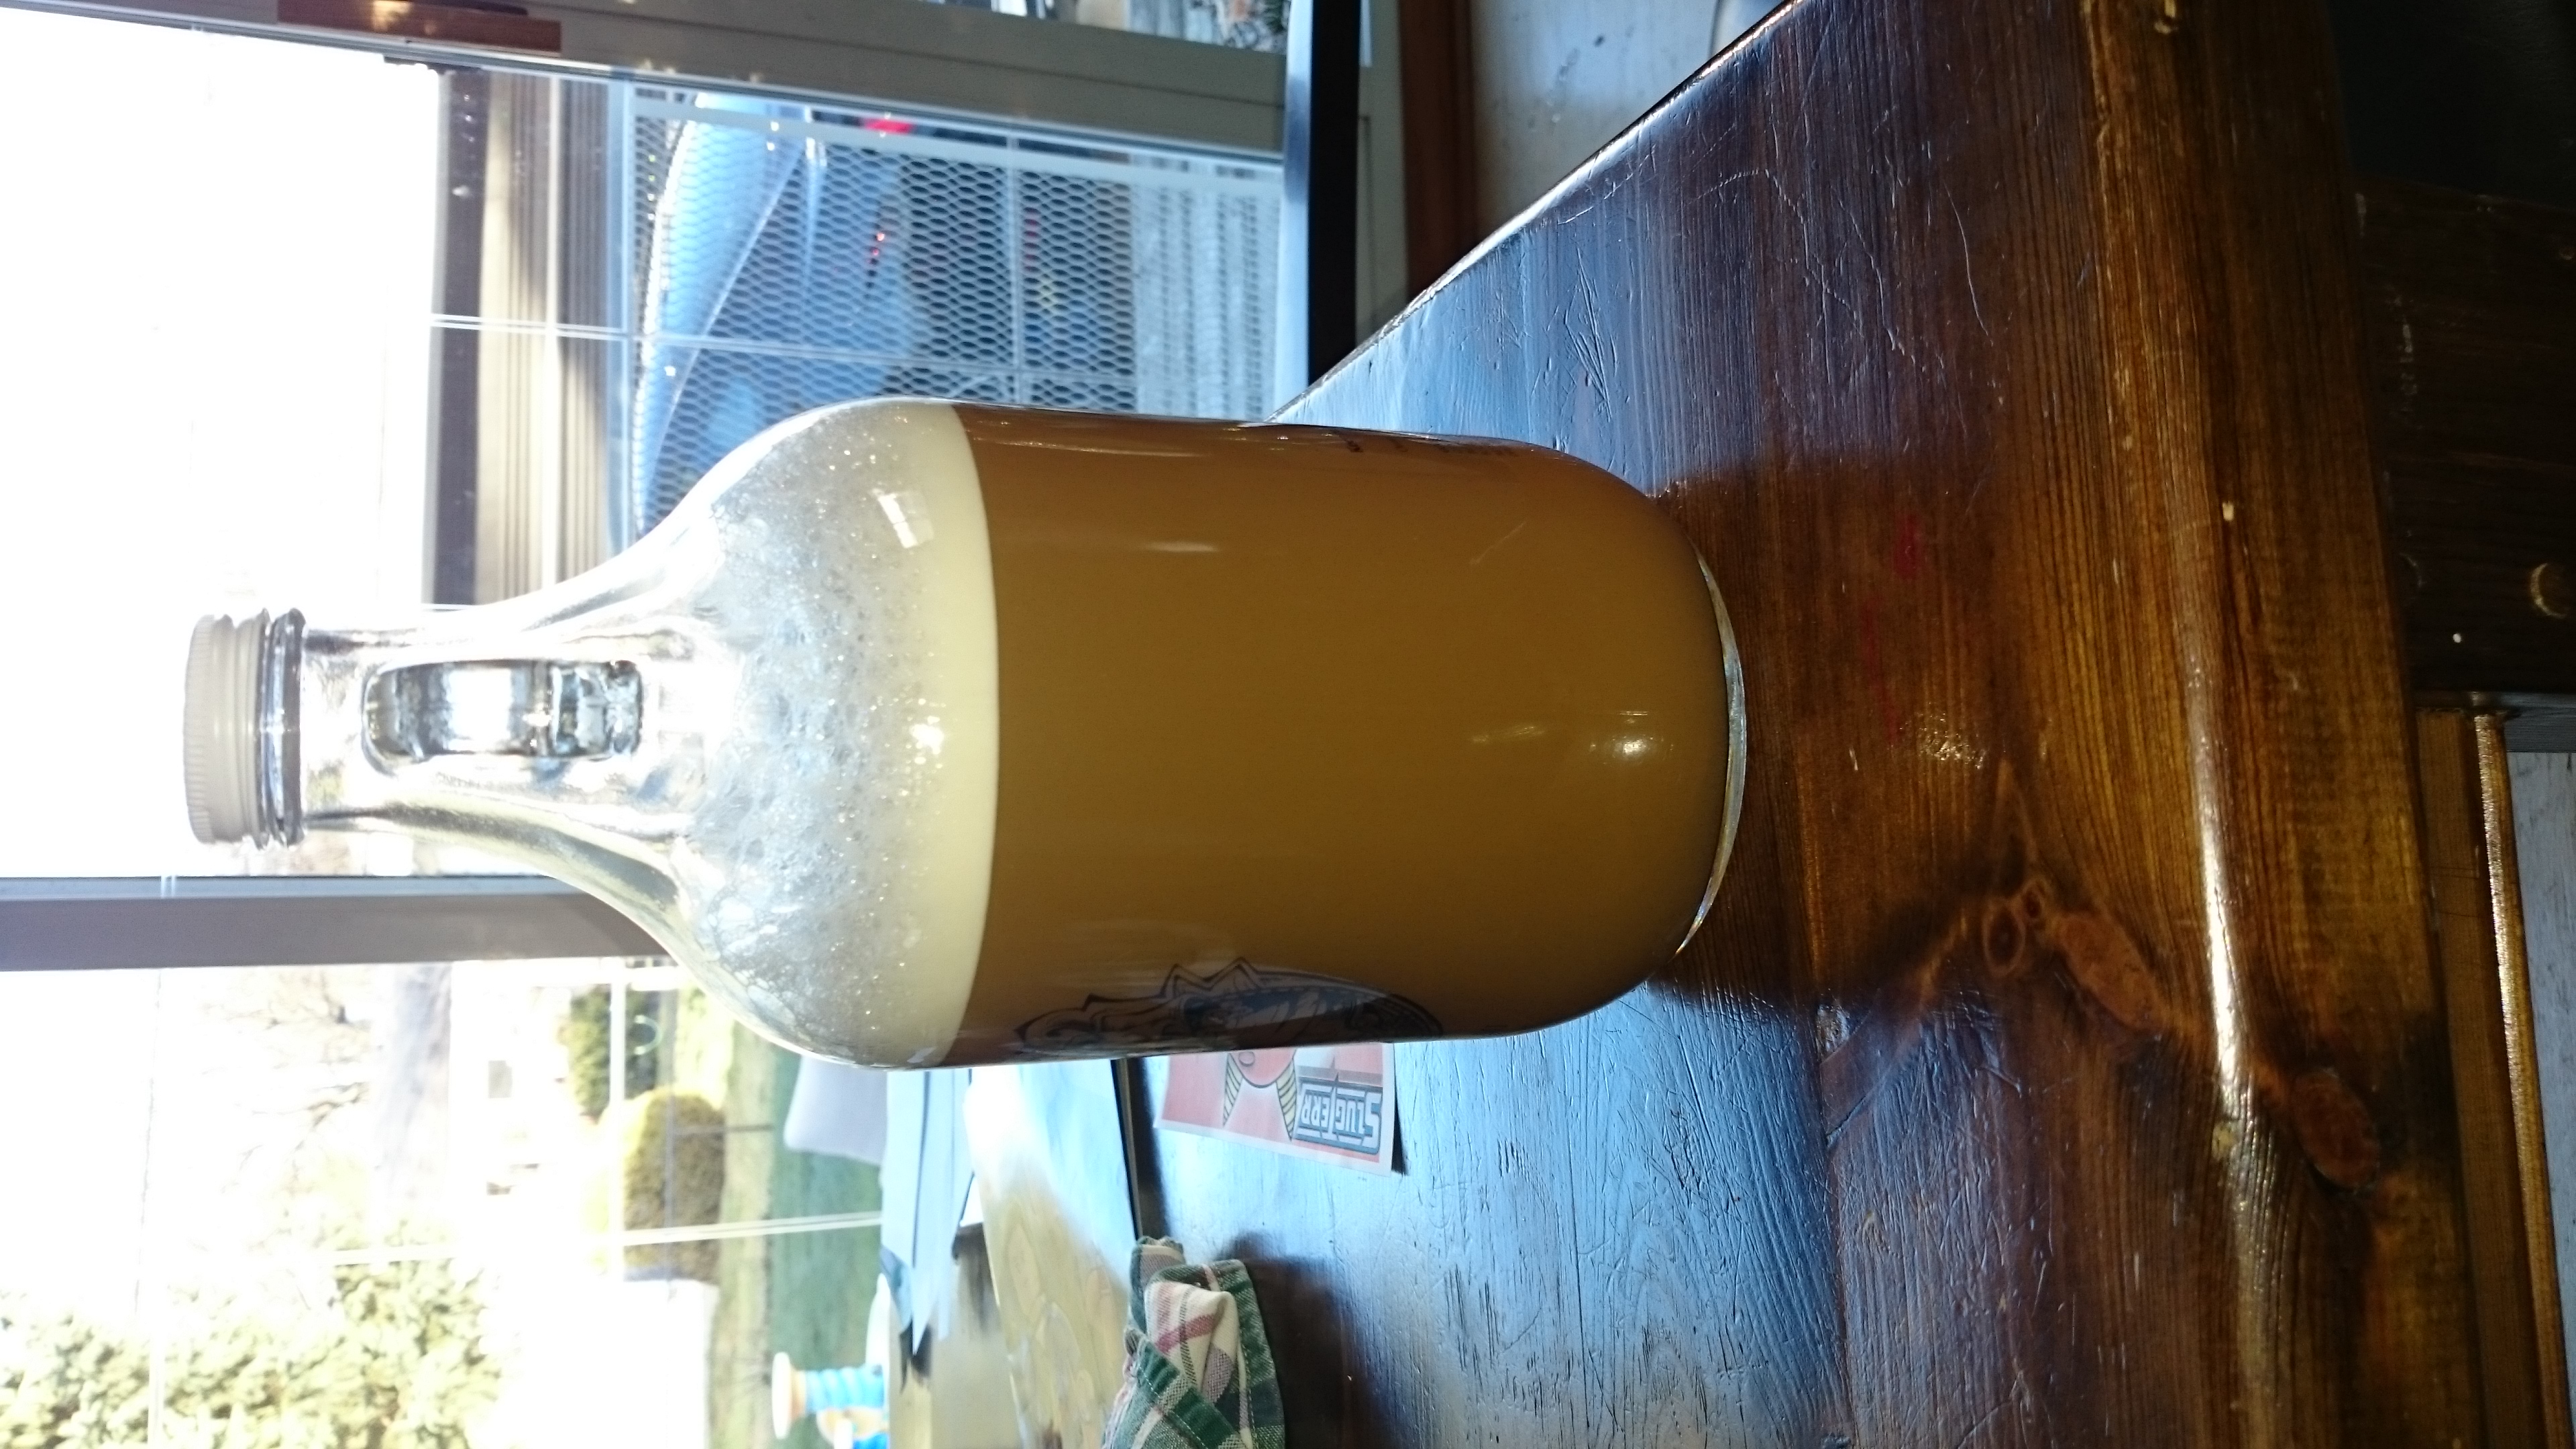
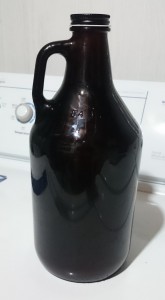 on a high shelf to be in the warm part of the room, I was always a bit worried about how bright the room was. Finally, I had a genius idea- “Why grab the clear growler for my starter when I have a perfectly good and light-impenetrable brown glass growler sitting right next to it?” With this eureka moment I decided this was so obvious I didn’t know why I didn’t think of it before. So I made a yeast starter in my brown jug.
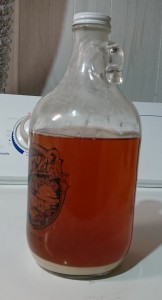 flavors sneaking into my beer, I always chill my yeast starter in the fridge for a few days to get the yeast to collect at the bottom and then decant off the extract beer water. This is another time when you want to see what’s inside in your growler. The last thing you want to do after nurturing your little crop of yeast over the last few days is to pour some of it down the drain on brew day.