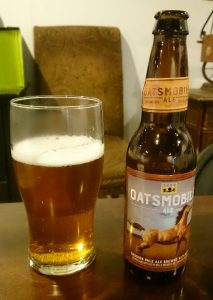
Nice full sweet aroma. Flavorful hop sweetness with a time of bitterness. As hops fade, there’s a nice malt smoothness that tests on the palate. Very nice. From an Iowa brewery.
4.5 out of 5 stars.
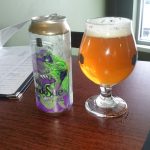

Nice full sweet aroma. Flavorful hop sweetness with a time of bitterness. As hops fade, there’s a nice malt smoothness that tests on the palate. Very nice. From an Iowa brewery.
4.5 out of 5 stars.
American Pale Ale from Wisconsin. Nice fruity hop aroma. Clean taste with fruity hop flavor present. No real bitterness. After hop sweetness fades, nice clean malt flavor.
4.5 out of 5 stars.

California common lager from Iowa. Slight sweetness followed by moderate malt flavor. Slight corn meal taste. No real hop presence. Nice, but not overly exciting.
4 out of 5 stars.

From a Minnesota brewery. No aroma. Flavor very not present. Clean malt taste comes in the aftertaste and lingers. Clearly the replacement for the missing MillerLite from the tap list.
3 out of 5 stars.

From Wisconsin. Clean malt aroma. Slight sweetness, fairly clean. Slight tartness at the end.
3.5 out of 5 stars.

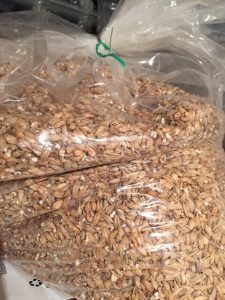 When ordering grains online at the homebrew shop, you usually have the option of whether you want them bagged altogether or separately. It’s always better separately for a number of reasons:
So although you might feel high maintenance to get it all bagged separately, there are good reasons to do so. And if your homebrew shop gives you the option of selecting that while ordering online, it’s as simple as one click.
I was trying out an electric all-in-one brewing system, and appreciating the fact that I could brew indoors, meaning I could brew in the evening. Not having to fumble around in the driveway in the dark with a flashlight was part of the appeal of going electric. So my brew day went a bit longer than planned and there I was about 11:30 at night, finished with my brew day, and trying to clean up.
I didn’t want to go outside in the dark and scoop my spent grain into a bag, so I started thinking. Since I’ve rinsed remnants of spent grain out of my mash tun out in the kitchen sink and ground them up, and the fact that grains are all-natural, I thought, “Why not?”
So I proceeded to scoop out the aftermath of 11 lbs. of spent grain into the sink. I was a bit alarmed at how much that pile of grain filled up the sink, but I was tired and eager to finish up the brew day. I turned on the faucet and started running water and scooping grain into the disposal while it was running. I figured as long as I washed it with a lot of water, and took it slow, I’d be fine.
I soon found that I wasn’t fine and the drain wasn’t clearing. I brought out the plunger, but it didn’t help. In the end I had to do what I was trying to avoid in the first place and scooped the grains out into a bag. But I also had a clogged sink as a bonus. I had hoped that after sitting overnight it might somehow magically clear but it didn’t. The next day I had to take the pipes off under the sink to clear them out and snake them a couple times before finally getting it to clear. Lesson well learned as to the limitations of the kitchen sink garbage disposal.
On a recent trip to Chicago with my family, with 2 young boys, I was doing some pre-trip research and looking for a suitable restaurant to take my young picky eaters. I came across a review of Roots Pizzeria. Pizza is on the short list of accepted foods of the highly refined palates of my youngsters. So when I saw this place listed as family friendly- AND it catered to craft beer, I was sold.

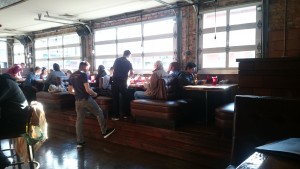
The neighborhood seemed like it was on the edge of a slightly dodgy area (bars & metal grates over storefronts, business signs hand-painted on building walls, etc.), but as we went down the street there started to be hidden gems mixed in. Roots Pizzeria was one of these. Walking in, you immediately felt relaxed as some funky music floated out and the subdued hub-bub of happy conversations at the tables.
There was a giant oval bar in the center of the floorplan, and there were numerous C-shaped booths along the outside edge of the floor. The booths were raised up on platforms to give a sort of commanding view over the room, rock-style-like.
The pizza was out of this world. The crust was amazing. Supposedly they use some mix of malt in the crust. I don’t know what it was, but it was decidedly different and delicious. We ordered half of the pizza with some special goat cheese, which was also phenomennal. I don’t know what was special about the sauce, but yes, it was great too.
Enough about the pizza, Roots specializes in Great Lakes states beers (MN, WI, IL, IN, OH, MI). Supposedly over 100 different Midwest beers amongst an impressive draft list, plus bottles and cans. After fighting my way through ridiculous Chicago traffic, I thoroughly enjoyed working my way through the draft list of Midwest beers not available in Michigan.

As icing on the cake, Roots set up a giant window with a view into the pizza-making kitchen with a small bench for young viewers to stand in and peer in on the process. And my young one was thoroughly fascinated and stood and studied the process for a long time.
Roots is great for beer, awesome for pizza, great for kids, and an amazing atmosphere overall.
 I’d seen Greenbush Brewery taproom in The Michigan Beer Film, and I’ll admit that it lifted the brewery to an elevated state in my mind. I’ve had their beers, and am a big fan of Dunegras and Star Chicken Shotgun IPAs. So with a planned family trip to Chicago, a layover in Sawyer, MI in the Southwest corner of the state sounded like a great idea. With a $50/night Super 8 hotel a stone’s throw from I-94, which in turn is walking distance to Greenbush’s taproom, was a winning combination.
It was a family vacation, so my wife & I were travelling with our 2 young boys. We got to town for dinner around 7 PM on a Thursday night. The taproom was smaller than I had anticipated based on The Beer Film portrayal. But it was still a nice size with a nice open feel with high ceilings and large windows facing the main street. Right away I could tell it was family-friendly as about 1/2 of the tables had kids of some age at them. In addition they had a small Lego table set up in the taproom with piles of Lego’s for creative minds. And the men’s bathroom had the obligatory low-height urinals that fathers of young boys like me appreciate.
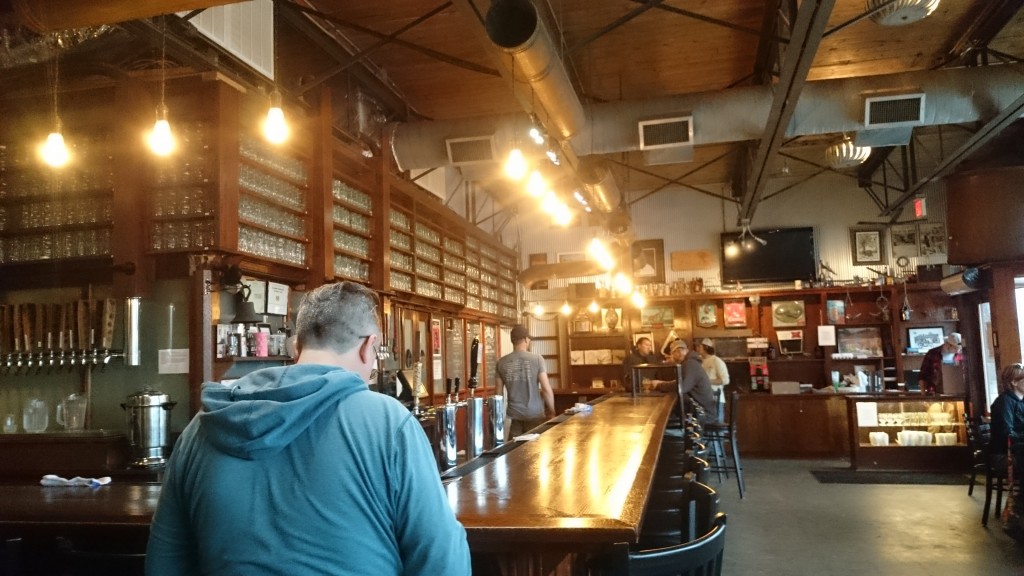
The food menu wasn’t extensive, but it had enough. Honing in on the pulled pork, which is always a BBQ favorite, we also went for the beef brisket. The Mac ‘n cheese was pretty good, and the pulled pork not that special- but the beef brisket was out of this world amazing. It was so good, it seemed like they should have been famous for smoked brisket sandwiches, and offered beer on the side. The beers were good, as in the bottle, and the atmosphere was great. If the place was 30 minute drive instead of a 3 hour drive from my house, I’d be there all the time. With my family!

Interesting smell, kind of hoppy, but also smells a bit like body odor. Flavor is immediately bright, crisp, and refreshing with a great hop flavor. You can get a sense of the malt on the back end with a nice clean, creamy oat flavor. Very drinkable for sure.
5 Out of 5 stars.