My first starter homebrew kit came with the standard 3-piece airlock. It always served me well, was easy to use, so I had no reason to question it. But I made a couple of batches that made me realize the blow-off tube method of managing off-gassing has its place as well.
The first instance was a batch I made at a Big Brew Day event at a local brewery (Rochester Mills). As part of the event, they provided everyone with yeast slurry from the production facility. I provided a clean & sanitized growler and they filled it with yeast. After I made my beer and transferred it into the fermenting bucket, I went and retrieved my growler of yeast. It was almost completely full with thick yeast sludge/foam. I dumped the whole thing in there, and had no doubts of this beer’s ability to convert. It was truckloads more yeast than I’ve ever pitched before.
After fermenting for a day in the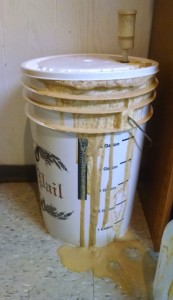 basement, I went down the next day to see a blowout disaster. The airlock had backed up and filled with yeast/krausen, the pressure built up, and eventually popped the lid off my fermenting bucket and puked mess out around on the bucket and floor.
Thinking I had passed the worst of it, I cleaned things off, cleaned out the airlock and put it back on. Checking again a few hours later, I saw foam starting to creep into the airlock again. At that point I knew I couldn’t contain it, so I improvised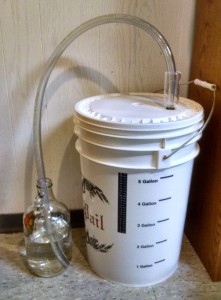 and shoved a length of extra hose onto the body of the airlock and ran the hose down into a growler filled with water to keep the hose from being exposed to air. Soon I had giant glugs of air going out through the water. With the size of the hose, I didn’t have any risk of plugging up with foam.
The other instance I found the blow-off tube helpful at avoiding the blowout was a beer where I had my fermenting bucket really full. I was going to be doing a large amount of dry hops, and to counteract the lost volume from all the debris I’d get, I put 5.5 – 6 gallons of wort into my fermenting bucket. Once it started fermenting, I soon saw foam creeping down the tube. It made it all the way to the water jug, but still due to the size of the tube, never plugged and never had the over-pressurization issue. I’m sure if I had an airlock on there I would’ve plugged it and popped the top.
So the airlock has advantages of being simple. But if you’re going to have a really active fermentation, or a large volume in your fermenting bucket, you probably should do the blow-off tube.

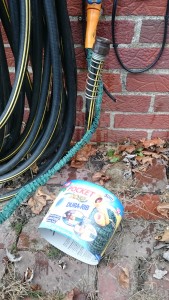 “pocket hose”. I keep it inside with my homebrew kit and when it’s time for wort chiller action, I bring it out, hook it up to the faucet and am ready to chill. It worked well, and was much better than monkeying around with a frozen garden hose at a time when I’m trying to chill my wort fast.
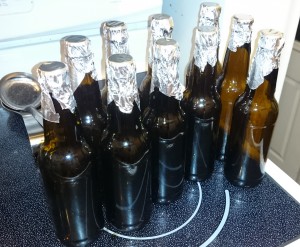 and set the oven to do a timed cook at 320 degrees for 2 hours and 15 minutes. I do that the night before and they are ready to go the next day. Or even sit around a few days because I’ve got the convenient aluminum foil “lids” on them.
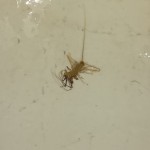 had taken up residence in one of my empty bottles in the basement. Had I not done the “one last rinse” just before my sanitizing, that little guy would’ve been in the bottle as I unknowingly capped him with aluminum foil and stuck him in the oven for a couple of hours. That would have been a “The last time I ever had homebrew story…” for someone had one of those come floating out as I was serving my family.
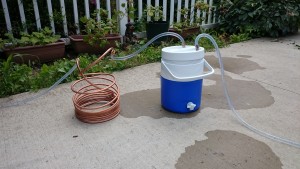
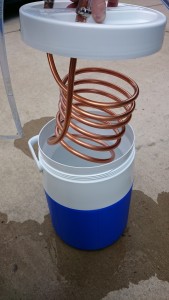 all drink cooler, bought a small coil of soft copper tubing, length of hose and a couple screw clamps. I wound the copper tubing around a bottle and made sure the inlet was hooked up to the end that would coil around and loop through the ice water before connecting to the outlet. Small drilling in the lid and I was all set to go.
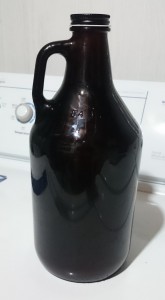 on a high shelf to be in the warm part of the room, I was always a bit worried about how bright the room was. Finally, I had a genius idea- “Why grab the clear growler for my starter when I have a perfectly good and light-impenetrable brown glass growler sitting right next to it?” With this eureka moment I decided this was so obvious I didn’t know why I didn’t think of it before. So I made a yeast starter in my brown jug.
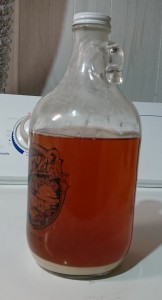 flavors sneaking into my beer, I always chill my yeast starter in the fridge for a few days to get the yeast to collect at the bottom and then decant off the extract beer water. This is another time when you want to see what’s inside in your growler. The last thing you want to do after nurturing your little crop of yeast over the last few days is to pour some of it down the drain on brew day.
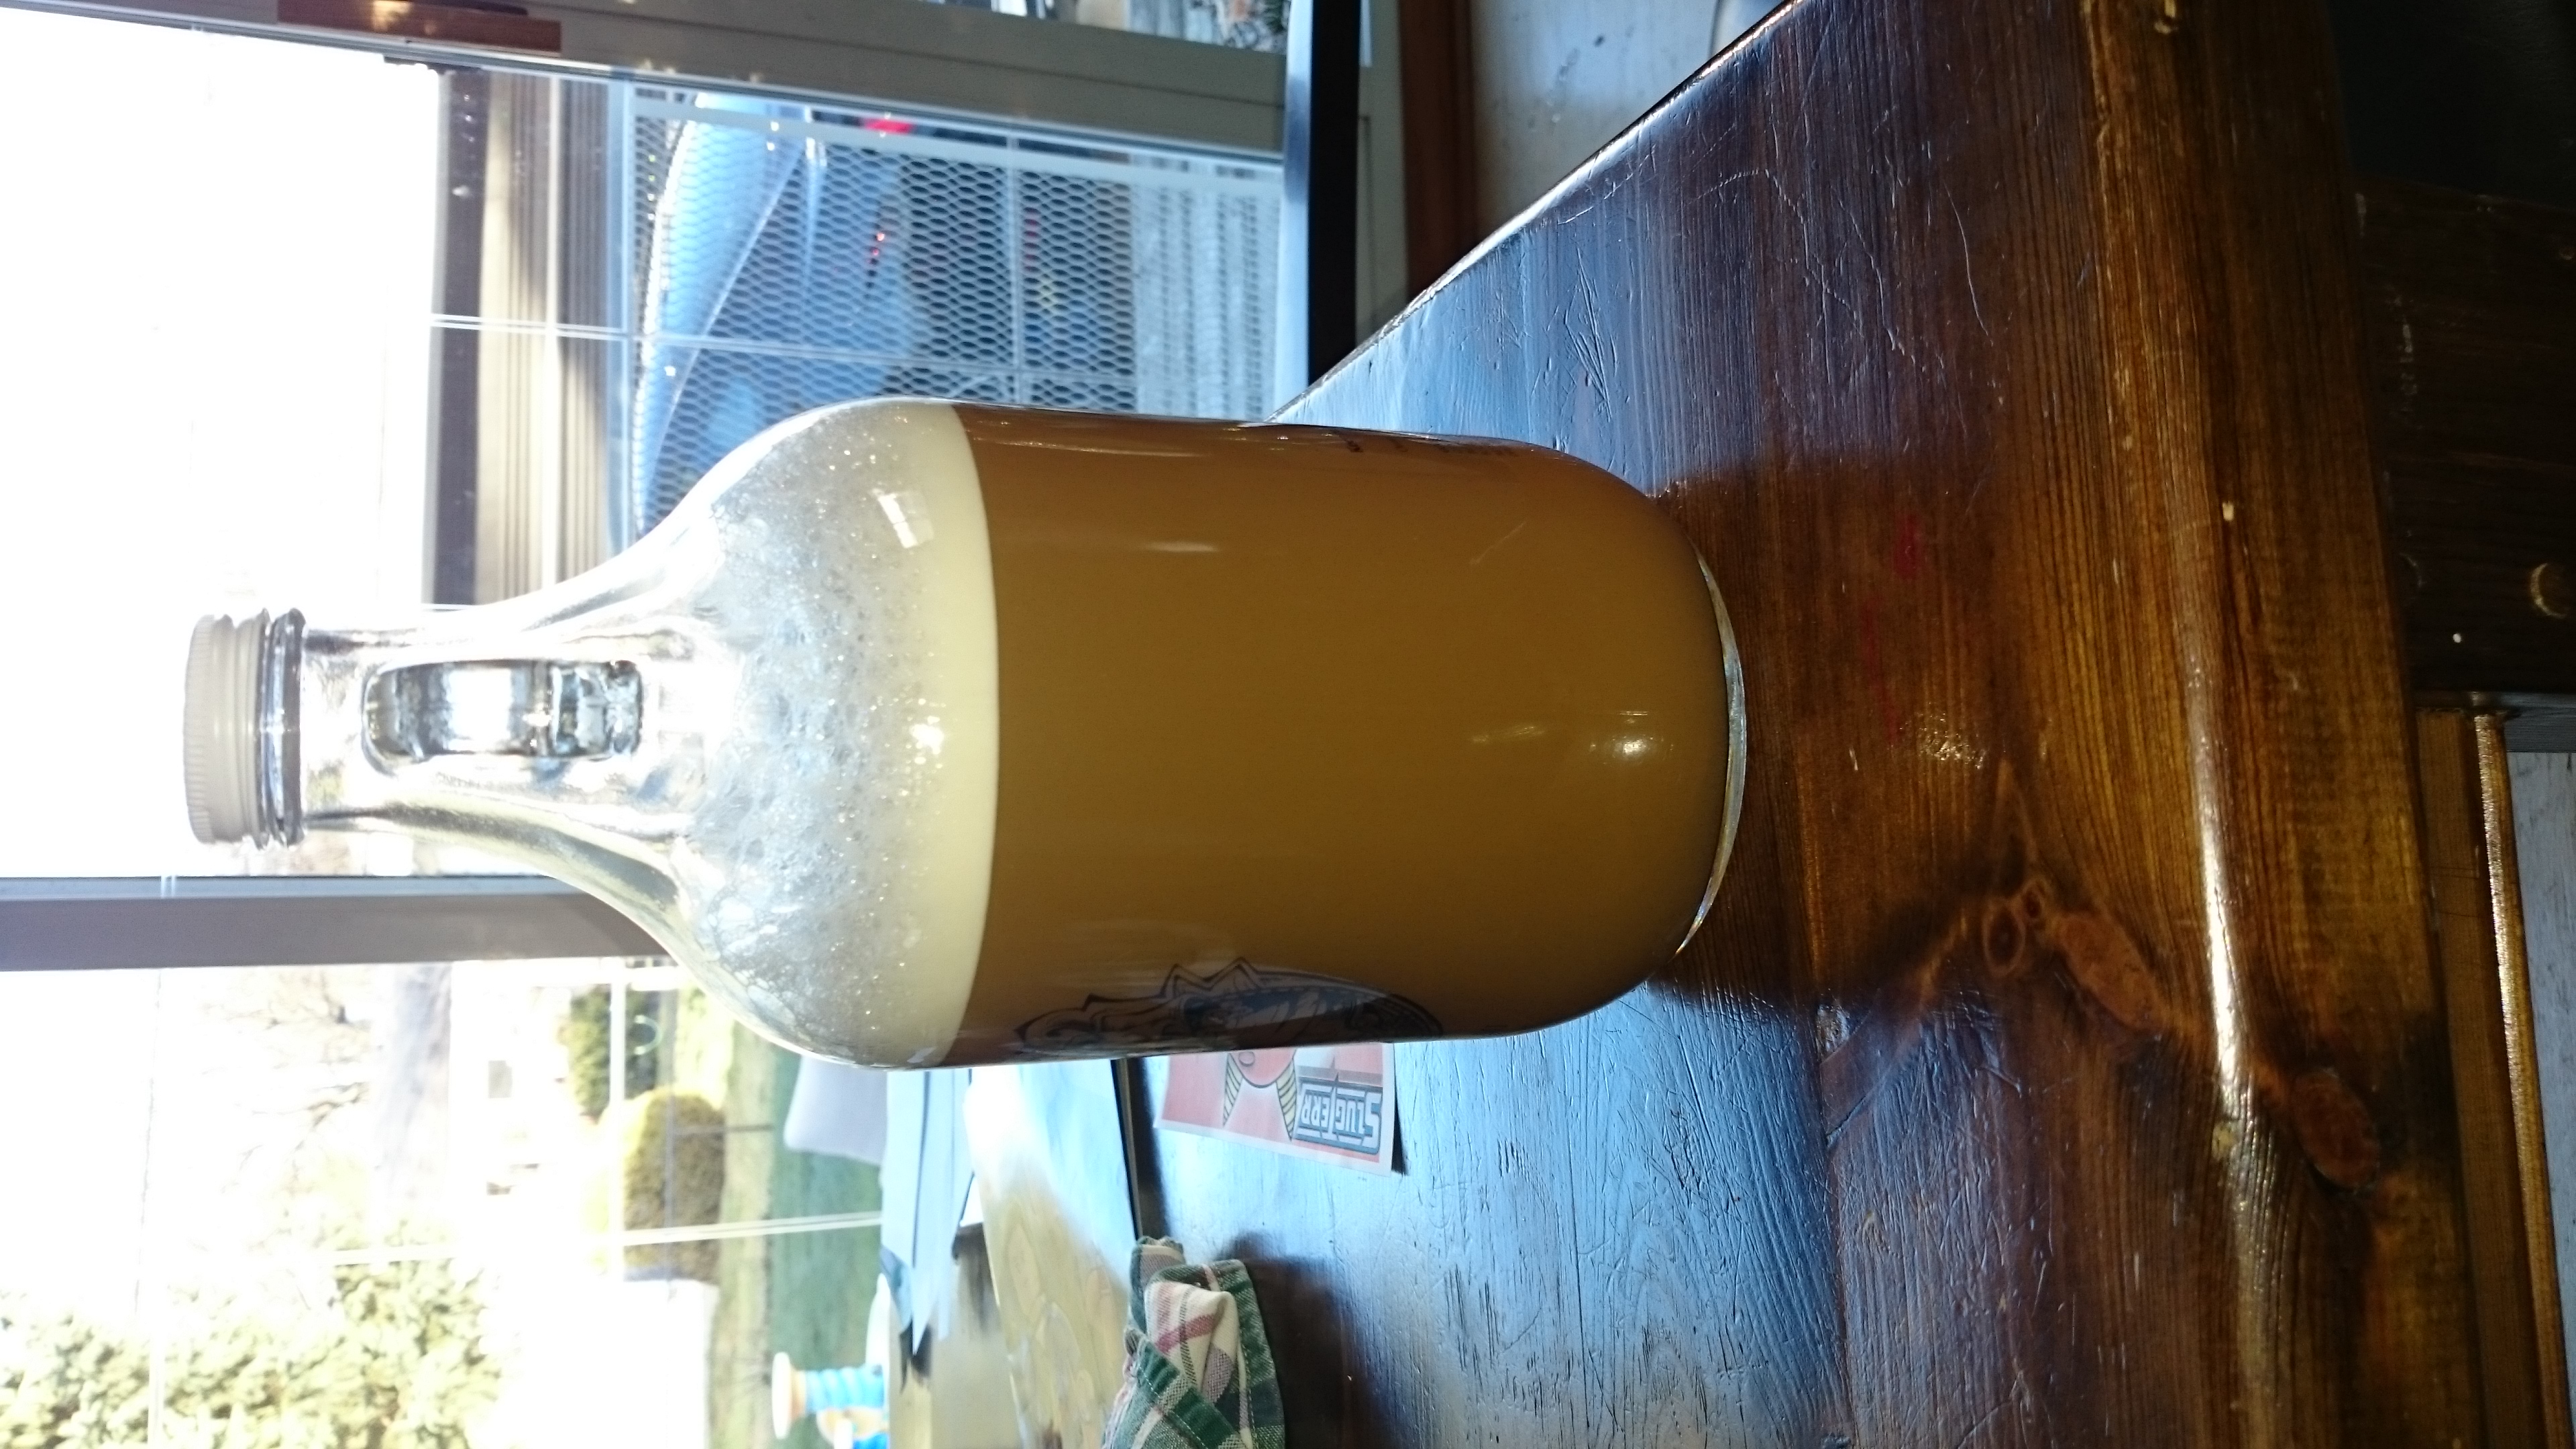
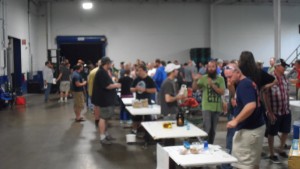 There are 2 kinds of homebrew competitions- one that has judges rate beers against the specific style guidelines, and the other where it’s a people’s choice, or popularity vote. I entered one that was judged by a group of other homebrewers. Standing by my table serving my Blonde Ale, I overheard a lot of comments by people holding their voting cards. I witnessed a lot of people looking at my little sign saying “Blonde Ale” and walking on by without tasting it. But the guy next to me with the Belgian Sour blah-blah-blah or the Dunkelweiss Dark Peanut Butter Coconut Ale, saw a lot more tasters.
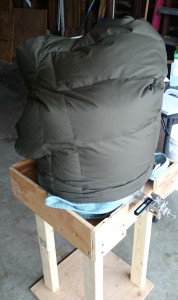
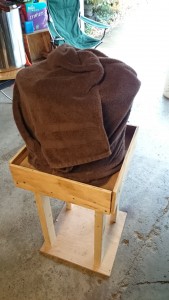 The simplest way to stay in control is to wrap your mash tun in layers to keep the heat transfer down. In the summer you may be fine simply turning off the propane heat and waiting the whole mash period, but come fall you probably need a wrap (towels work well), and come winter you definitely need a wrap. An easy solution to this warmth is to get a good winter coat that’s big enough to fit around your mash tun and then throw that over it when you reach your rest temperatures. It’s certainly a lot easier than turning on and off the heat on your burner to try to maintain a fixed temperature!