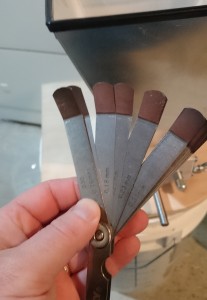
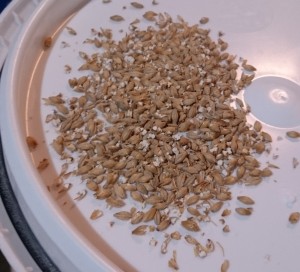
If you crack your own grains (and I recommend you do- see my opinion why), here are a couple of tidbits I’ll pass on that I learned the hard way. They both have to do with roller adjustment. When I first got my grain mill, the instructions suggested getting a set of feeler gauges to set/adjust the roller gap to, in order to define your grain crush. I thought this was a superfluous detail and I would just eyeball it. I found after my first setting was too large that it was actually quite hard to tell by eye if the gap was the right size to crack the barley husk without pulverizing it to dust.
Really the only way to tell was to run a batch of grains through and look at what was coming out the other side. If too much or not enough, adjust accordingly. Making these adjustments by eye was quite tedious as I would continually overshoot or undershoot my mark. In the end, my efforts to try to simplify things by skipping the feeler gauges was actually making it harder for me. So I bought a set and figured out what seemed to be the right setting.
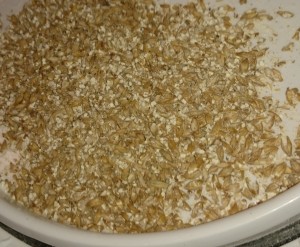
In the process of these adjustments, I got burned by the lock nuts on the adjustable roller. The mill was set up with a dial on both ends of one roller to dial it in closer or further away from the other roller. Then it had two locking screws to turn in tight to keep the roller in position. Stupidly, these locking screws have a nut threaded onto them, that cause you to bottom out your tightening screw against the nut and not actually be locking the roller into position. I found this out after seeing a batch of kernels go through and not actually get crushed properly.
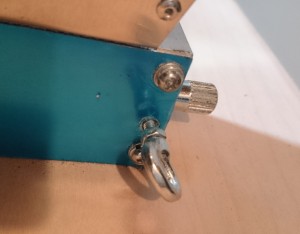
I have no idea the intended purpose of these nuts. I had initially thought they were to keep your adjustment screws from backing out once you locked them in, but that’s not the case. They way they’re set up, they only function to prevent you from fully locking your adjustable roller into place, but don’t prevent your roller from backing out and increasing the gap as you grind. So word of advice, just back these nuts way off and get them out of your way so you don’t get burned like I did.
 I added some rice hulls to help avoid a stuck mash with such a fine crush and was prepared for brew day.
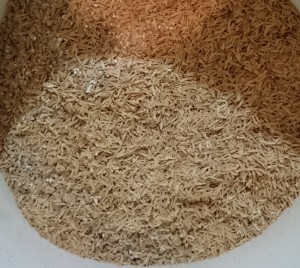
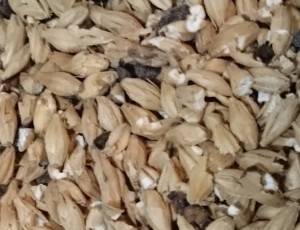
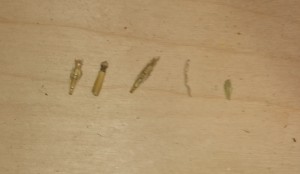 grain processing you find little bits of bonus grain bits that you can filter out (grain stock other than the kernel), but this time I found an unknown hop pellet sitting in my package of grains.
 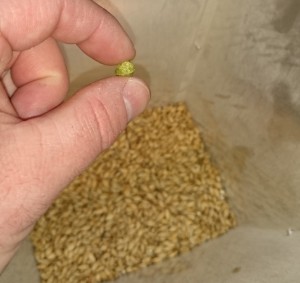 I have no idea what type it was, how old it was, etc. I just know I was glad I found it and it didn’t get ground up to be a bonus/mystery flavor in my Scotch Ale. Making a small 2.5 gallon batch that was also low in IBU, one hop pellet could make a noticeable difference.
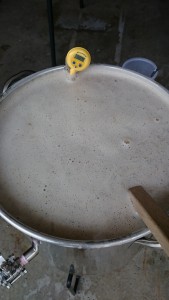 If you’re doing a multi-temperature mash by adding heat to your mash tun, you need to be wary of heat plumes fooling your thermometer. I have an 8 gallon pot with a false bottom that I use for my mash tun. When I do a multi-temperature mash, I monitor the temperature of the grain/water mash as I’m adding heat. Occasionally I’ve been thrown into a panic as my temperature seemingly shot past my target temperature.
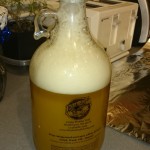 you relieve the pressure, so you have to screw the lid back on again before you lose anything out the lid. So this day while venting through the lid, I had a slow steady stream of pressurized air going out, watching the foam raise higher in the jug. Right when it was near the lid, I screwed it down tighter only to find it suddenly rush out and foam out of the carboy.
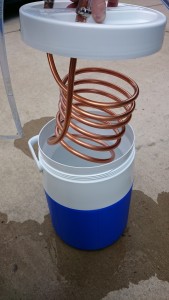
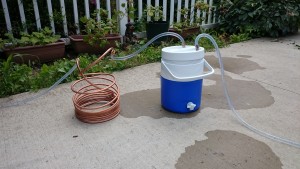
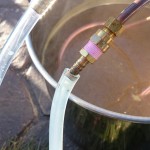 of my wort chiller (the output side after it goes through the hot wort) had the hose sliding off just with the tug of gravity. Luckily it was toward the end of the chilling phase so the hose was starting too cool down, shrink, and no longer slide off.
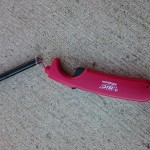
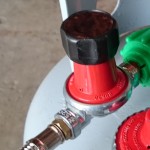
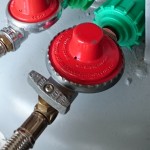
 on hand for brew day. Years ago, I ran out of propane in the midst of my boil and that really sucked. Much worse than it would’ve been had I not had a spare BIC lighter. It reminded me that I needed to do a bit of an equipment review and figure out which items would be a true disaster if I sat on them or something on brew day and didn’t have a spare…
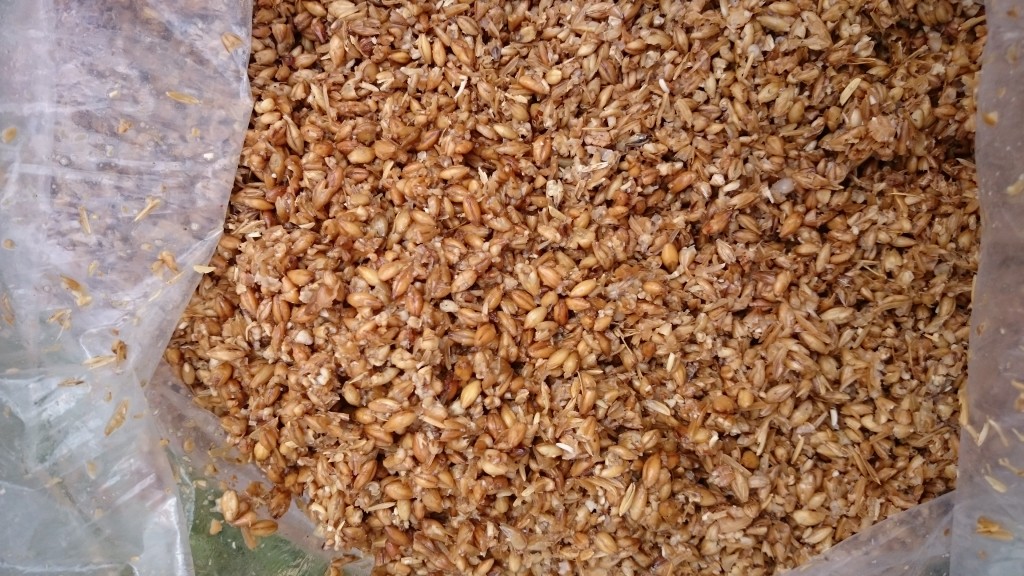
 I decided I wanted to take matters into my own hands and buy my own mill. Not everyone wants to fork out $100 to do that. But if you don’t, you really should take care to examine your grain BEFORE you brew. Seeing it after mashing like I did, you’re too late to do anything about it.
 you can adjust and correct it. You also do this check immediately after milling the grain. I learned the hard way that checking it the moments before I was about to add it to the mash tun left me scrambling to run inside and re-mill, and trying not to let the water overheat or cool off that was at my strike temperature.