All posts by micraftbeer

Mash Conversion Efficiency Experiments

Since moving from my single-vessel eBIAB set-up to a 2-vessel system (one kettle is the mash tun, the other is my boil/heating kettle), I couldn’t hit my predicted OG.  So I set out to do some experiments to determine how to improve my efficiency.  None of these changes were anything I came up with on my own, just a collection of actions I read from others.  I just wanted data to quantify the impact on my set-up.  And I wanted to study the different processes with an eye on overall brew time.

EXPERIMENT SET-UP

7 lbs 2-row
1 lb Crystal 40L
0.5 lb White wheat

Mash @ 1.4 qt/lb for 60 minutes @ 150F
Water + brewing salts + acid added to 5.6 pH
Sparge water @ 168F
Target pre-boil volume 7.5 gallons


BASELINE RUN

My base process since going to the 2-vessel system was to do a 1.4 qt/lb mash in my Mash Tun (MT), and then transfer in all of my sparge water that was heating my Boil Kettle (BK) on top of the mash.  I would then drain water off the mash over a 20 minute period back into the BK.  I crush my own grain, with a gap setting of 34 mil.

After mash was complete, it took me 20 minutes to collect the 7.5 gallons of wort into my BK.  Conversion efficiency was calculated at 70.4%


RUN #2 (ADD SINGLE SPARGE STEP)

After the 1 hour mash, I’d run off all the wort in the MT into the BK.  Then I’d fill the MT with the full sparge water volume, stir up the grains, then vourlaf until things became clear.  After that, I’d transfer to the BK until I collected the 7.5 gallons of pre-boil wort.

It took me 23 minutes to collect the pre-boil volume.  Conversion efficiency increased to 75.3%.


RUN#3 (SINGLE SPARGE WITH  TIGHTER CRUSH)

Same process as Run#2, except this time I tightened the gap on my rollers down from 0.034″ to 0.026″.

For the same 23 minutes, conversion efficiency increased to 82.7%.


RUN#4 (20-MINUTE FLY SPARGE)

Same process as Run#3 with the 0.026″ crush, but instead of the single batch sparge, I did a 20-minute continuous fly sparge.

For an extra 5 minutes (28 minutes after the mash was done), conversion efficiency increased slightly to 83.9%.

Dial Thermometers Have an Adjustment Screw for a Reason

There’s a lot of gear I get that I assume is already calibrated accurately out of the box, just because it’s easier for me to assume that.  That means I can just get down to using it, and don’t have to waste time on boring stuff.

I recently got a couple of dial gauge thermometers from Spike to use in my Spike brew kettles.  Of course they recommended checking the temperature reading at a temperature near where you plan to use it most, and even provide a convenient set screw on the back.  But I just dove in and started using it.

On my first brew I just took it at face value to be accurate.  The second time I used it, I decided to check it with my highly accurate digital lollipop thermometer that comes with calibration certification paperwork that it’s good to 0.1 degrees F.  I found that although the dial read 143F, my lollipop thermometer read 156F.  That’s huge at mash temperature.

The set screw is super easy to use.  Just turn it (pliers or screwdriver) and you can see the dial face rotate around.  I have other probe thermometers that don’t have a separate calibration screw, but you just turn the nut at the back face and you see the same change.

Next time I won’t be so lazy.

Don’t Quit Early if FG Higher Than Expected

So I’ve been using these Tilt Bluetooth Hydrometers now for several batches.  They’re awesome that they give a view into your fermentation progress continually.  Every 15 minutes, it writes an update into a Google Sheet with the current SG and temperature.  Taking data so frequently, you can see the trends of fermentation as the gravity drops and progresses towards the finish.

From this data, it’s pretty easy to see when fermentation is done.  SG goes flat and is no longer dropping, even with steps up in fermentation temperature.

So I was fermenting a Plain Wheat Ale, using Wyeast 1010 American Wheat Ale.  Wyeast gives this a pretty broad fermentation temperature range of 58 – 74 F.  For this particular fermentation, I was using a fermentor that I didn’t have cooling temperature control, only heating.  So I left it to do its work at my basement temperature of 63F.

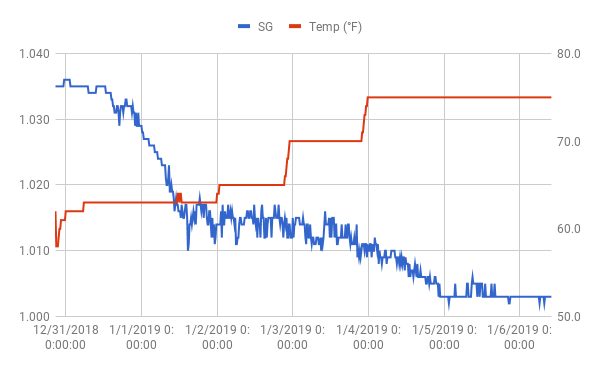
Fermentation took a little while to start off, but I soon had an overflowing krausen getting pushed out the top of the fermentor.  After a day and a half, fermentation started to slow, so I added some heat and let it climb up to 65F.  That didn’t really move the gravity any more, and I figured that maybe this one was just going to finish high on FG at 1.015 versus predicted 1.012.  I had a screwed up mash, so I figured maybe that was as close as it would get.

I then went on to my diacetyl rest where I bumped it up 5 degrees, which made it 70F.  It was hard to tell at the time, but it looked like it was maybe starting to drop a bit, so I bumped it up again to 75F.  It then started a clear steady trend of dropping gravity and dropped another 8 points of SG.

I took away two lessons from this one.  First was to pay attention to FG.  Although BeerSmith’s FG prediction is just based on standard attenuation numbers from yeast manufacturers, and yeast manufacturers provide a range of attenuation, it’s still a good goalpost to keep in mind.  In the future, if I’m still a little bit high, I’ll bump the temperature up again and then sit and wait to see if there’s still more to go.

The other lesson I learned was if I’m fermenting a yeast on the colder end of its temperature range, I need to make sure I push it through its full range of temperature to make sure it’s really done at the end.

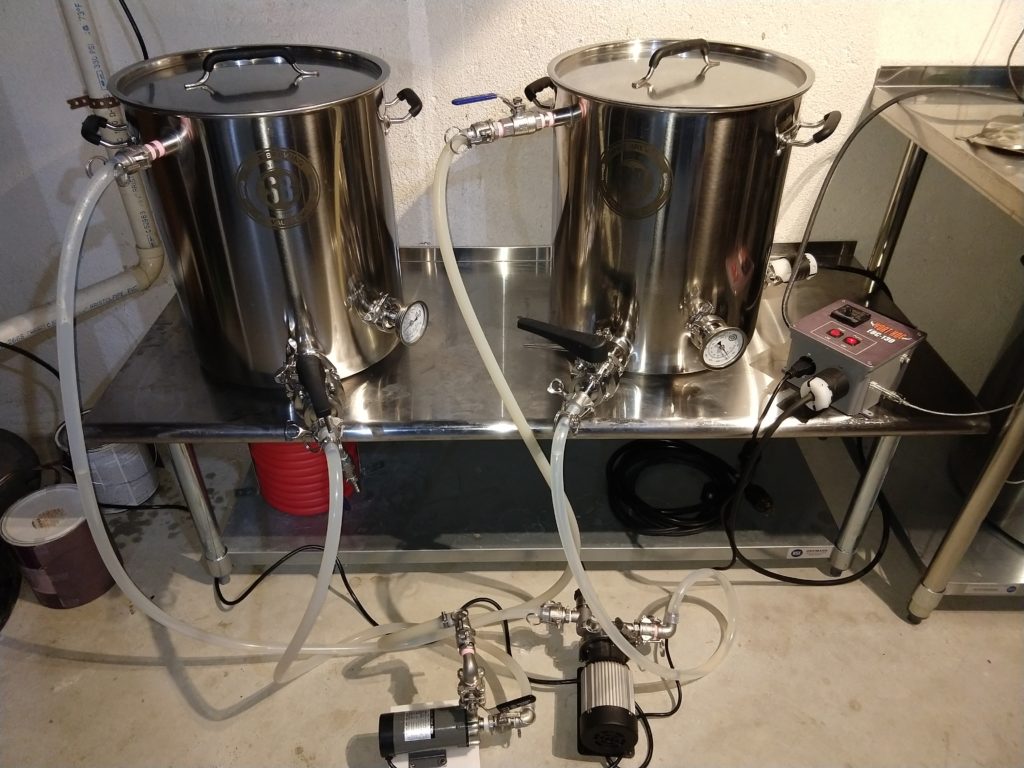
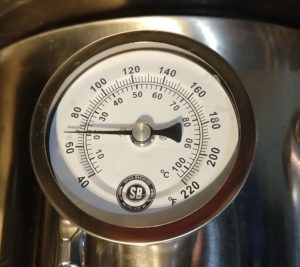
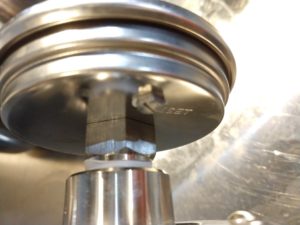
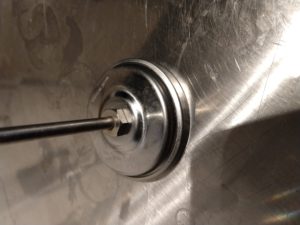
With this Wheat Ale, I was trying to get full body and mash at a 156F single rest step.  But I had trouble with my new set-up of keeping the temperature steady there (lost 6 degrees through the mash), and at some points a lot of the grain bed was drained so I could try to heat up the water in another kettle.  I also had some temperature dial issues, and I really may have been starting as low as 143F instead of 156F.  So the fact that the Tilt shows it finished up at 1.003 is indicative of my messed up mash and I probably was pretty cold.  Anyway, hopefully it still tastes good…

Wort Aeration Stones- Yes, they really do mean to boil it…

So I got some wort aeration stones to use to add oxygen to my wort before fermenting.  They typically come with either a 0.5 micron stone which you’re supposed to use with pure oxygen, or a 2 micron stone which you’re supposed to use if using an aquarium pump to push air.  As it was explained to me, the pure oxygen disperses better through the 0.5 micron pores, but that’s too tight for the aquarium pumps to handle, so they push the air through 2 micron pores.

Not sure I totally understand the science behind that, but it’s simple enough for me to just accept it.  These 2 stones have different cleaning methods specified.  For the 0.5 micron stone, I was told I had to boil it to sanitize it, whereas the 2 micron stone could be soaked in StarSan.  Here’s where I didn’t follow the advice that came on the packaging.

I assumed the boiling recommendation was just a product of over-zealous contamination-paranoid homebrewers, the likes of which are disassembling their 3-piece ball locks in between brews to scrub and boil.  So I blew off that recommendation and just sprayed the stone with my spray bottle of StarSan solution.  I figured it worked for everything else, and I personally had never experienced a contamination/sanitation issue.

I then found after brewing a couple of batches where I used the 0.5 micron stone, that the beers developed a sweetness to them after being in keg for a few weeks.  This was present across several beer and yeast types (Pilsner, Black Lager, IPA).  It wasn’t until my IPA had the same sweetness that I made the connection to my shortcut sanitation process on the oxygen stone.

Suddenly the cleaning process made sense to me.  The small pores in the stone were small enough that my spray of StarSan was only going to get to the outside surface.  By boiling it, I heated up the whole thing- inside and out- and the temperature could then kill off whatever wild yeast/bacteria had taken up living in it in between brews.

So now I boil the stone for a couple minutes.  And I can no longer tell people that “I personally have never had a contamination/sanitation issue.”