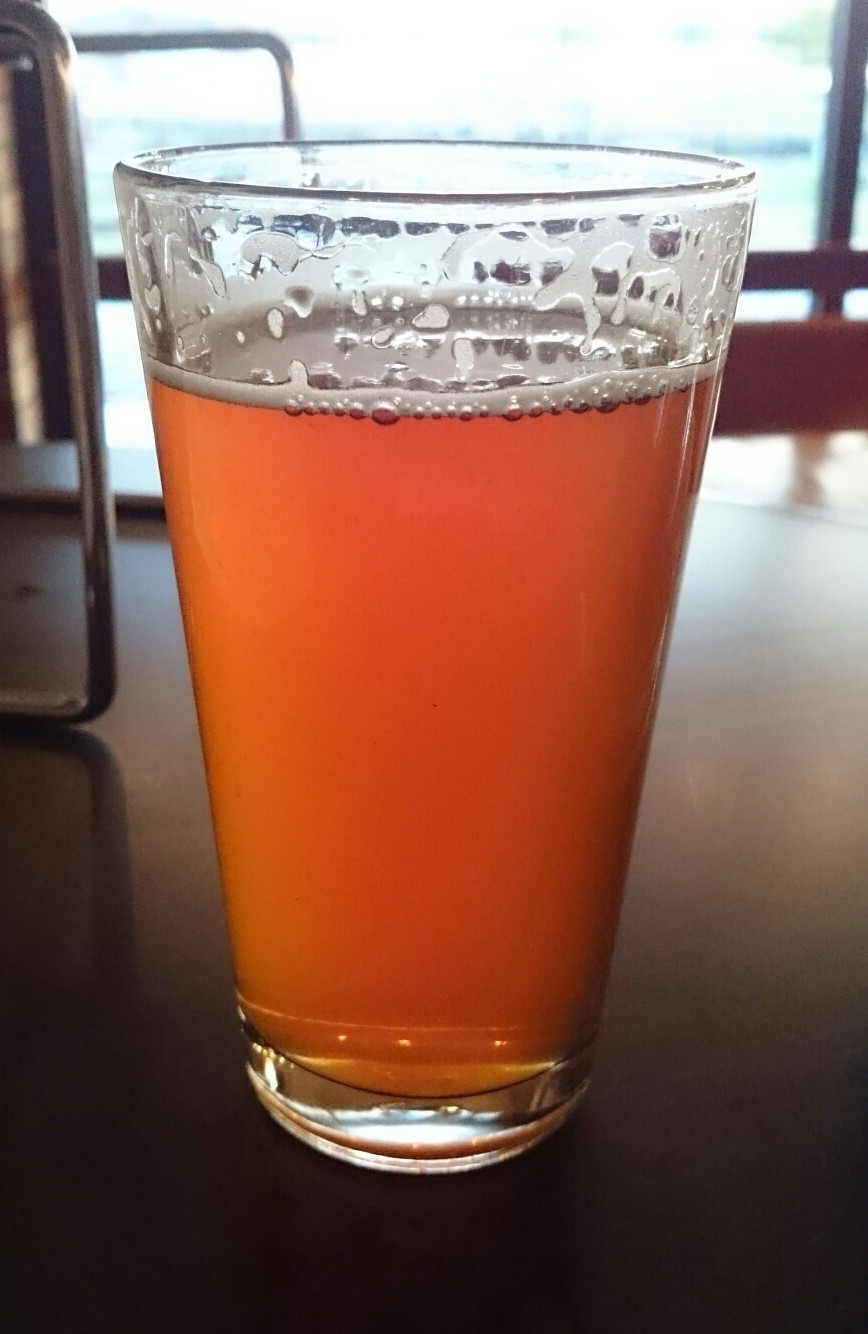
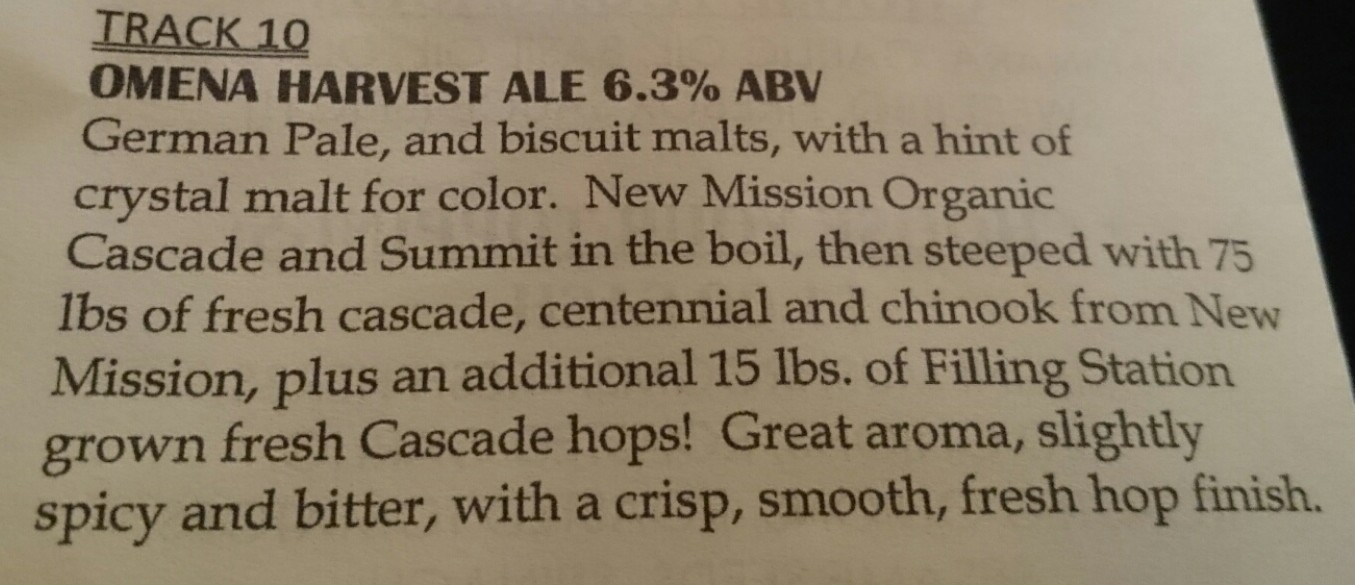
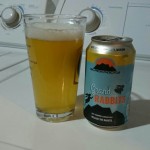
Fresh taste, not as hoppy as the description makes it sound. Fairly low bitterness bite, but decent hop flavor. Can taste the malt backing, menu days German pale, biscuit makes, and hint of crystal. I think I can taste the biscuit.
4 out of 5 Stars.

Fresh taste, not as hoppy as the description makes it sound. Fairly low bitterness bite, but decent hop flavor. Can taste the malt backing, menu days German pale, biscuit makes, and hint of crystal. I think I can taste the biscuit.
4 out of 5 Stars.
Grand Traverse Resort and Spa, Traverse City, MI
This sounded like a unique event- a 5k run with beer stations on the course. This year was the second year for the event. Held in November so as to tie in the beard theme with no-shave November charity. With the course going through one of the on-site golf courses of Grand Traverse Resort, mid-November also ensures runners aren’t competing with golfers for green space.
I came up the night before and stayed in the resort so I wouldn’t have a 4 hour drive ahead of a 10:00 am race start time. I made a poorly thought-out choice of doing the breakfast buffet the morning of the race. Sometimes they’re just too good to pass up, even if you know you don’t need all that food. It was in the mid-30’s Saturday morning so it was going to be a fresh morning run. As I was walking around checking out the post-race party tent, I heard the greatest exchange between a couple of women who had just registered for the race-
Woman 1, “It’s a run that has beer stations ON the course. Of course it makes sense to have alcohol this morning before we start.”
Woman 2, “This is just the greatest event ever that we found.”

The race had about 300 – 350 people take part. As we lined up to start, they reminded us that this was an untimed race. Although there was a clock running, there was no chip timing keeping track of each individual runner as they crossed the start and finish time. This of course was fitting with the crowd and the event itself. They had people group themselves into 3 groups. Racers lined up in the front, Runners in the middle, and Beer Conniseur’s at the end. The group of racers only numbered about 20, so after we saw them off, the main group of us headed out next.
The run followed the golf cart path 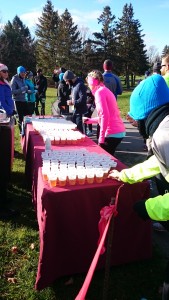 that wove around, up, and down through the hills of the golf course providing nice scenery. Just before the first mile marker we had our first beer station. As we got there, the table was covered with scores of small plastic tasting cups filled with the first beer, about 3 oz. size. People lined up orderly, got their beer and then stood around a bit while drinking their sampler. Once done people started up again down the path towards station #2.
The first beer was a saison of some sort by Beard’s Brewery, and I wasn’t a big fan. As I continued on to station #2/mile #2, I was starting to regret the breakfast buffet and the sausage gravy biscuits. It sloshed around in my stomach with that slightly sweet/sour saison beer making me wonder what I was thinking. Station #2 was a good pale ale from Right Brain Brewery. Right up my alley for beer style, I was starting to change my opinion of whether or not beer & running was OK to mix like this.

Approaching the 3rd/last beer station there was a giant hill. Pushing myself up the hill and telling myself I couldn’t walk, I got to the top feeling quite exerted but happy to be at the Short’s beer stop. My high hopes were crushed as I saw they had a pumpkin spice beer. I understand that was probably in season, but I’m not a pumpkin or spiced beer fan- especially at the 3 mile mark. But since I signed up to drink beer while running, I of course had to finish it. I noticed most of the conversation around me was how most people didn’t like the beer. But I didn’t notice a single person pour it out or toss a half-full cup in the garbage. Apparently everyone else was of the same mindset that this was part of what they paid for.
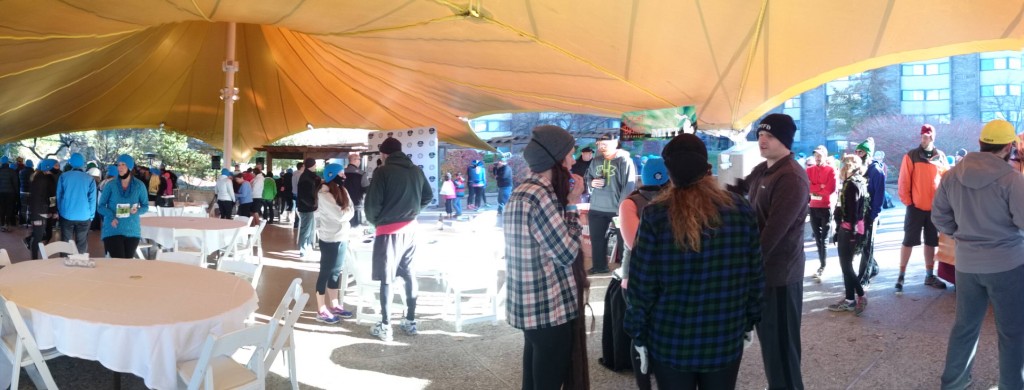
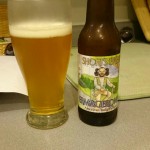
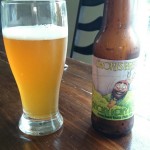
At the end of the race, they had a DJ going underneath an open-air tent/canopy top. You could get cookies, granola bars, bananas, bagels, water. Once adequately recovered, you could go over to the 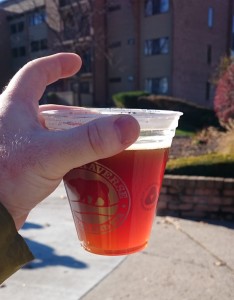 beer table and collect your 16 oz. pour of one of about 10 different beers from either Short’s, Beards, or Right Brain. I had an awesome pale ale by Beards, made with Galaxy hops. It was fresh, slightly fruity, and nice and cold. I thoroughly enjoyed it while sitting and soaking up some sun.
The question is- would I do it again? Yes. It was cool running on the golf course, and even though it was well into fall and the trees were all leaf-less, it was still nice outside. It was also fun running outside in the cold weather. I would probably follow the tip from some fellow runners we saw that instead of the small medicine cup-sized beer sample, somehow managed to have a full 12 oz. glass. The trick they said was to first get a glass of water (bigger cup), drink that down, and then fill it up with 3 sample cups. That would’ve been good for beer#2, but the small size was just fine for beer#1 and #3.
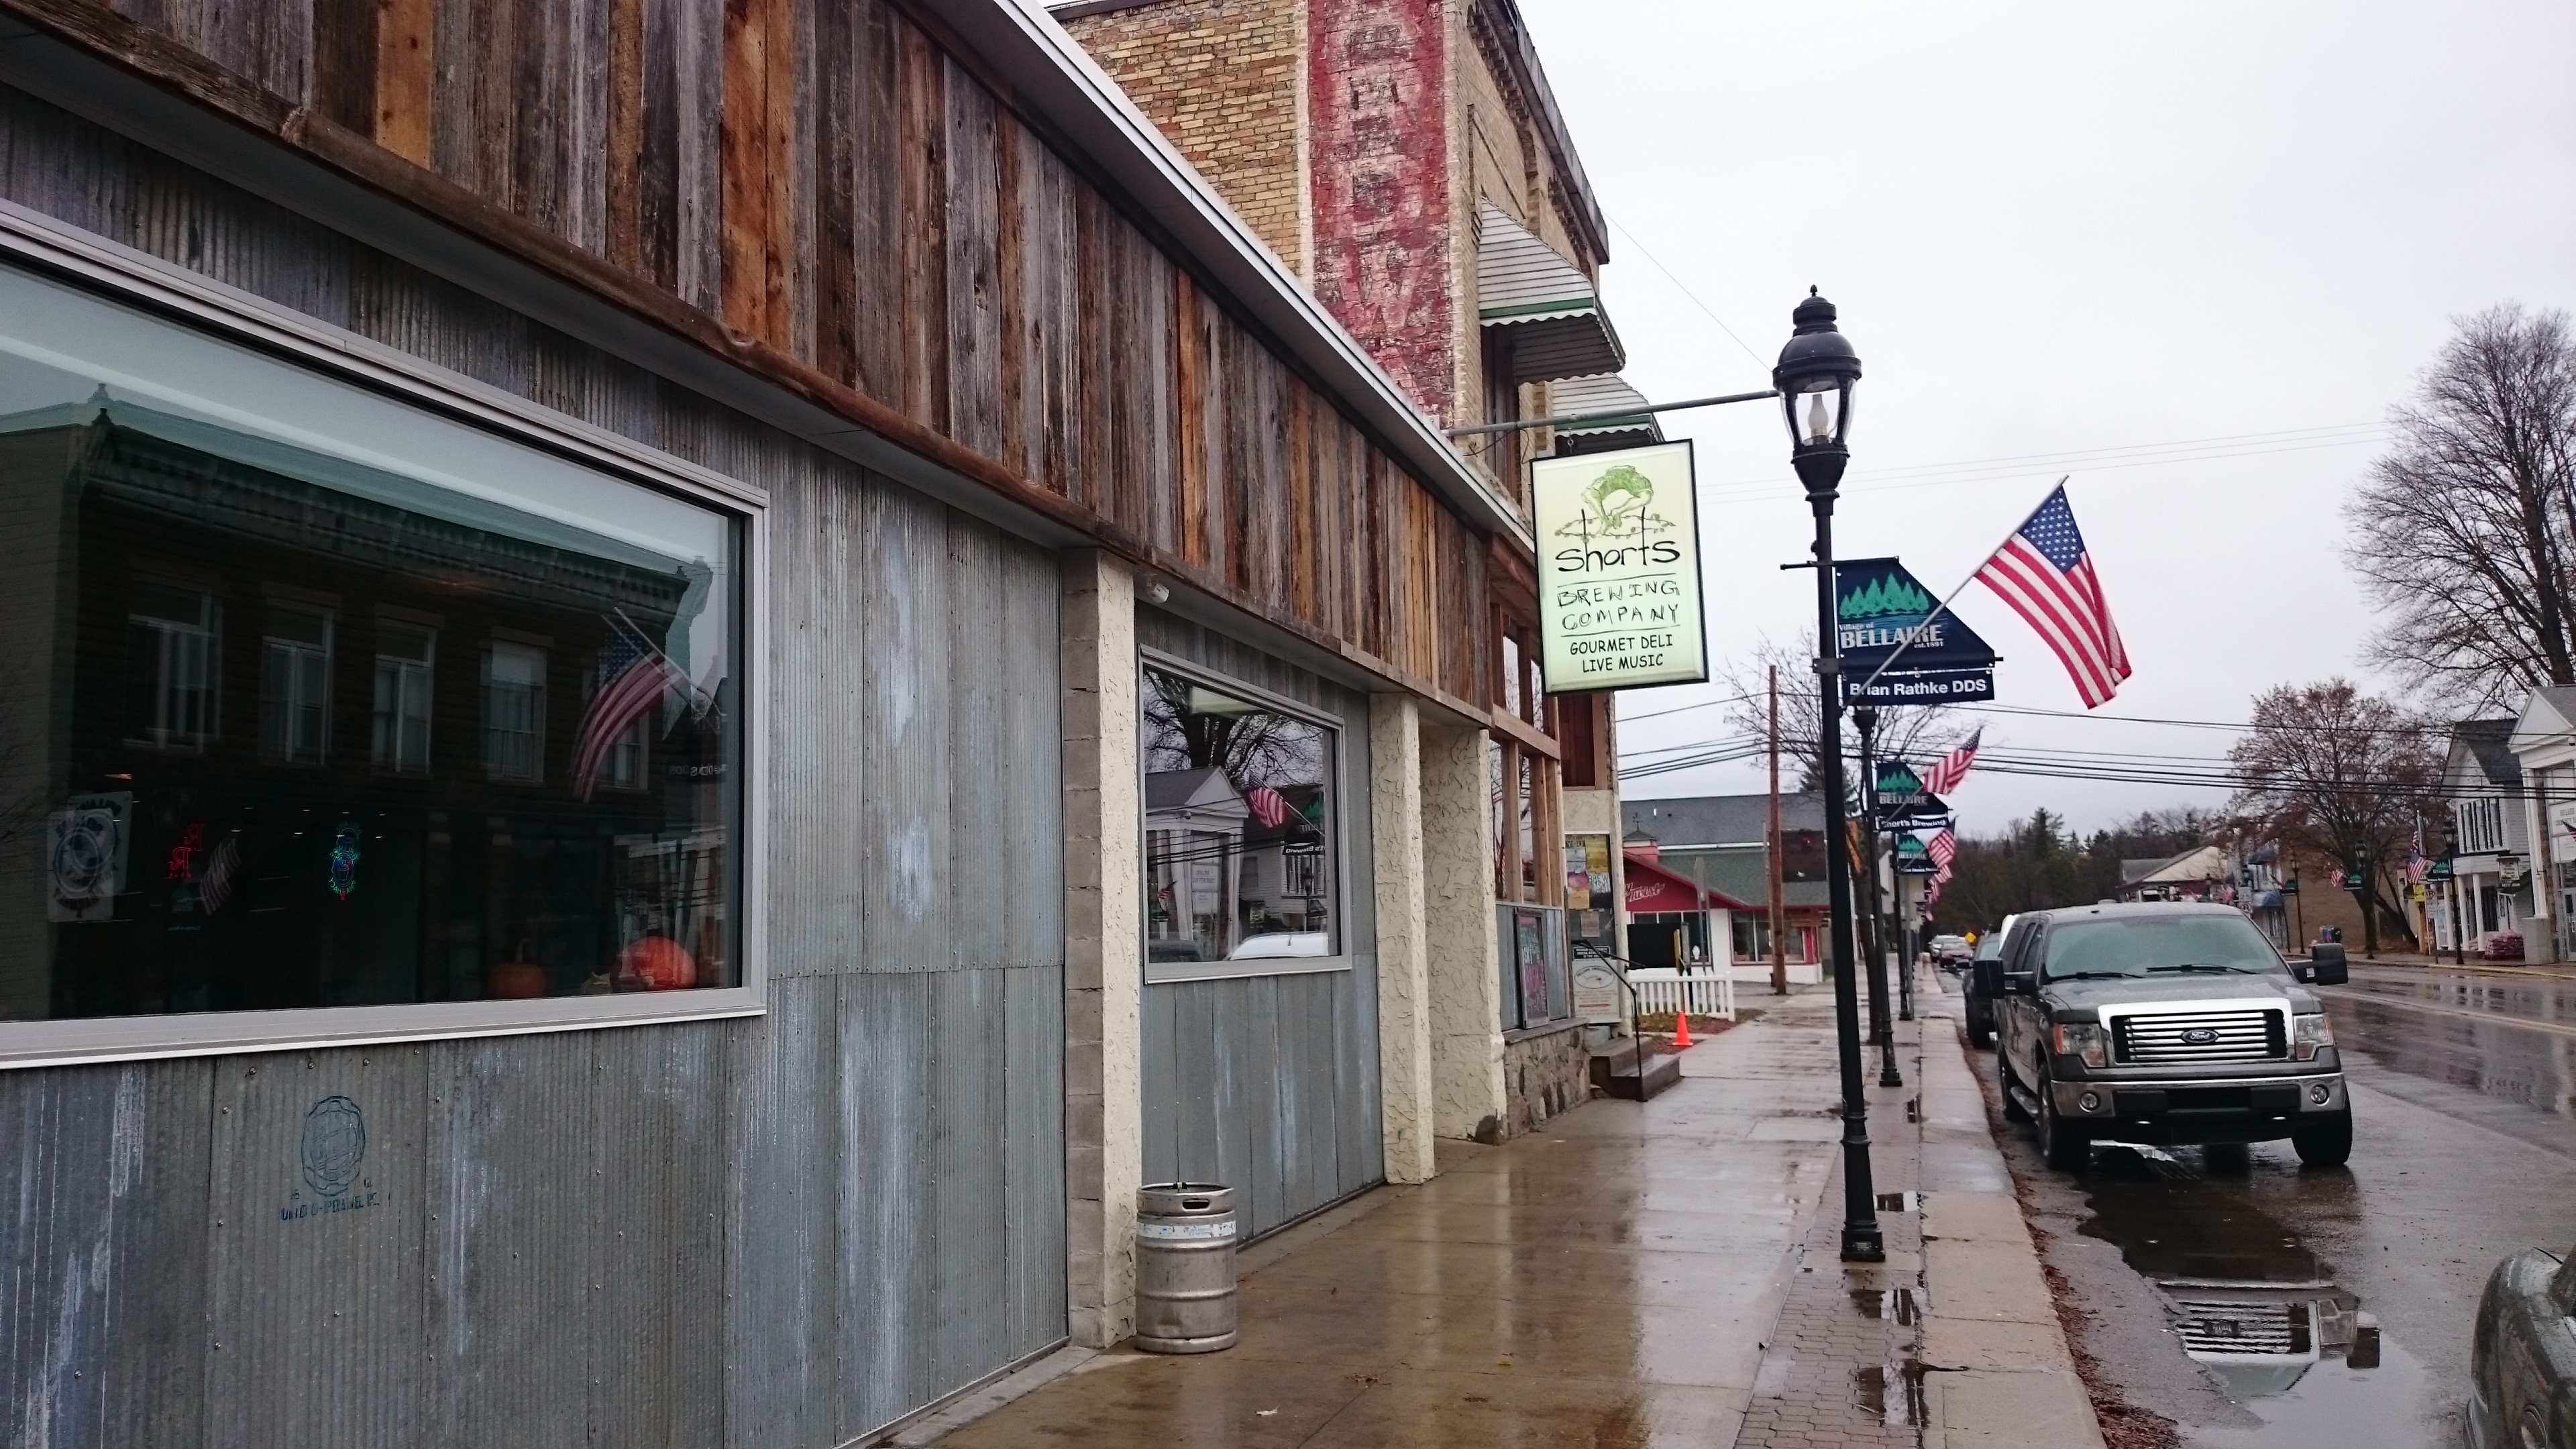
I’m a huge Short’s fan, so naturally as I found myself driving North, I figured out a way to work in a visit to the Bellaire pub. It wasn’t my 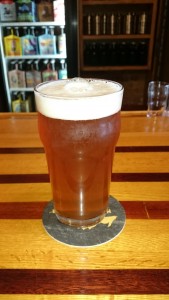 first visit there, so I pretty much knew what to expect. I was curious if their expansion had opened yet, but it was still in the works apparently with a floorplan taped to the window and some “coming
soon” verbiage. It was mid-afternoon on a Friday, and about 3:00 PM it wasn’t very busy. I grabbed a seat at the bar and ordered a Huma Lupa Licious. Probably my favorite Short’s beer if I had to pick, and whenever I’ve had it at the pub it has always been the best/freshest Huma. As usual, it didn’t disappoint.
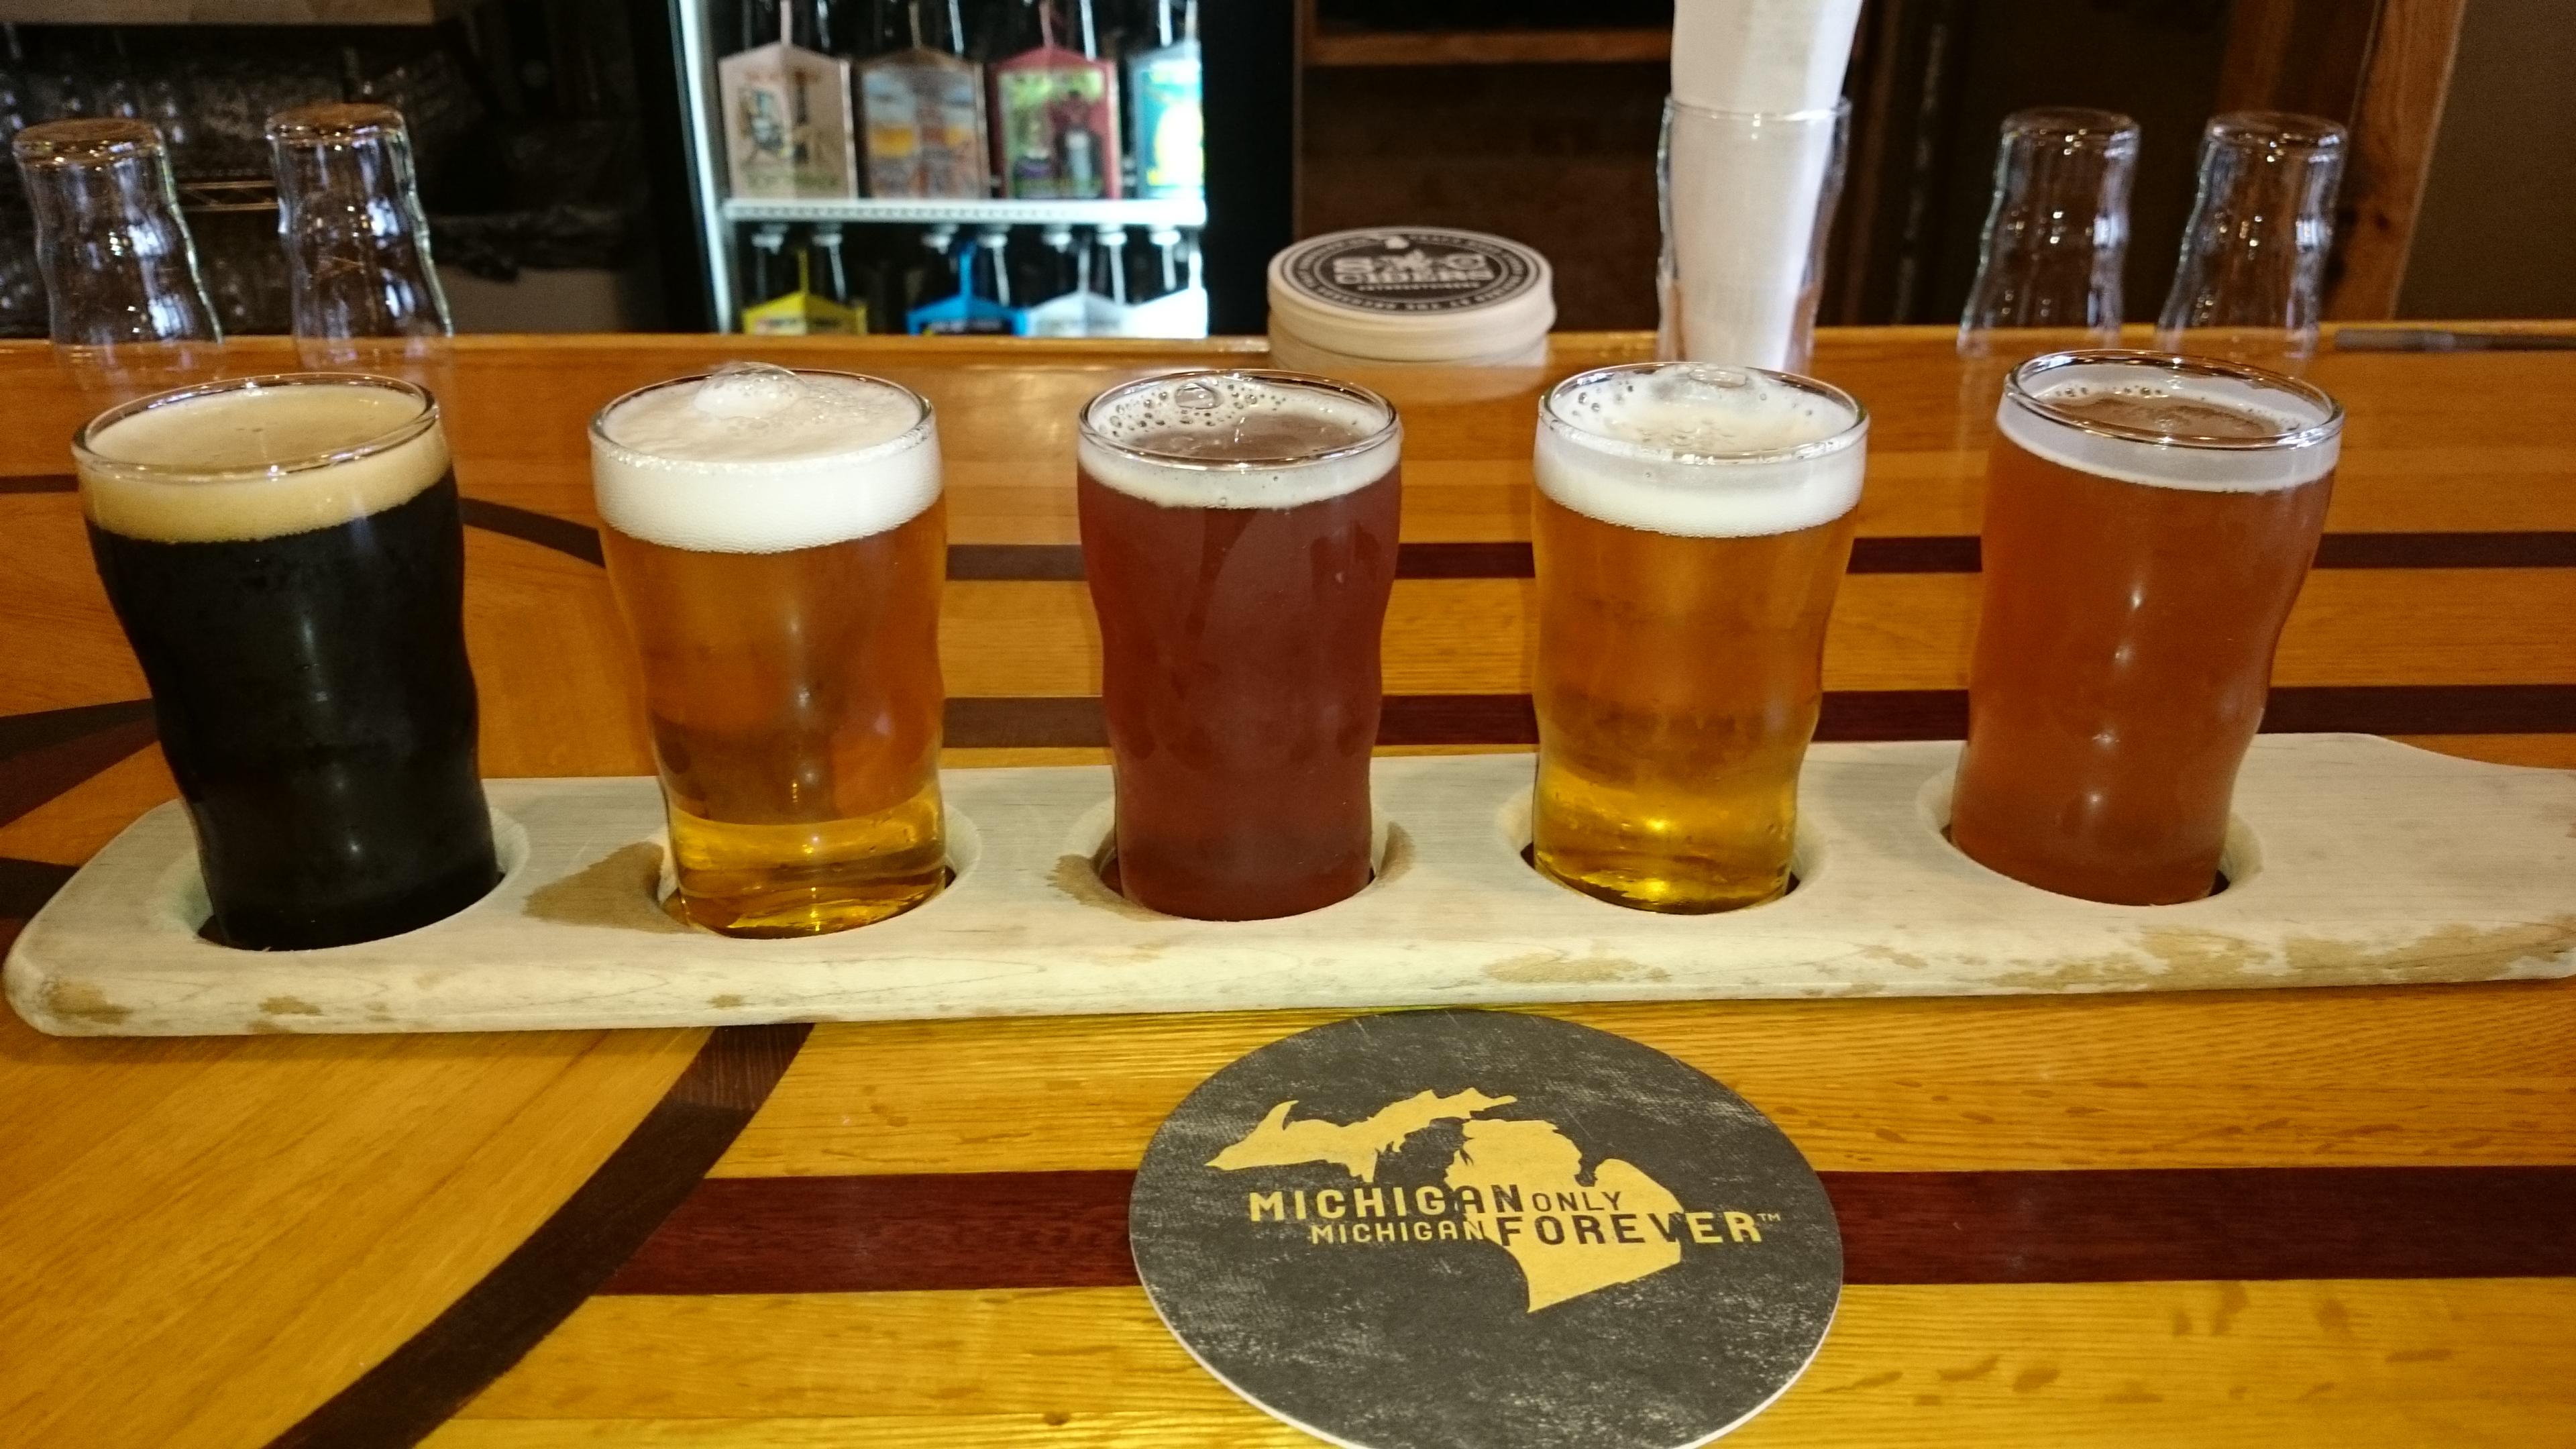
Knowing that I had to drive the 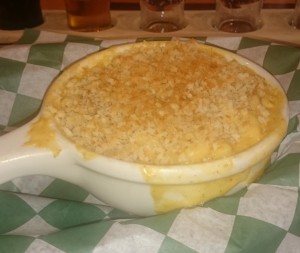 30-40 minutes over to Traverse City shortly after, I had to gauge myself. Since I couldn’t decide on just 1 more beer to try, I went for a flight and got 5 different ones. I saw on the chalkboard that they seemed to now be carrying a “mac n cheese of the day”. I ordered that, and the Cheddar and Bratwurst was amazing, and for only $3 it was a steal.
After I finished my beers and mac n cheese, I spotted that they had Devil’s Lettuce 6-packs for sale. This came & went through the local beer shops so fast that I never even saw it, I just heard I missed it all. So I picked up one for me, and one for a friend. I then also saw they were trying to move out their Oktoberfest beer, Noble Chaos and were therefore selling 12-packs for $9.99. What a deal. Got some of that, too…
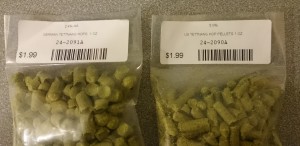
Here’s how I rated the beers, Left to Right in the picture below:
I used to relish opening my beer fridge a couple days before brew day and smelling that sweet aroma of fresh hops waft out as my packages of hops sat chilling in the fridge. But after doing some brief research into hop storage, I found that wasn’t a good thing. Here’s why.
To keep hops from degrading you need to keep them away from oxygen. You can also slow the degradation rate the colder you store them. For every 27 degree drop in storage temperature, you cut the degradation rate in half. Because of this, hop producers recommend you store your hops in the refrigerator or freezer.
Aside from the storage temperature, keeping oxygen out of the packaging is even more effective. If you can smell the hops when you open your fridge, that means the packaging is not airtight. And if you can smell hop aromas coming out, you know that oxygen is getting into the packaging.
The typical Local Home Brew Shop (LHBS) takes bulk pellet hop packages and breaks them down into 1 oz. plastic pouches, “seals” them and labels them to sell. However, Hopunion is one hop supplier that provides a superior package before it even gets to your LHBS. They package in a light-proof, oxygen-barrier bag, and also evacuate the air and fill the bags with nitrogen before sealing. So not only do you get a good barrier to prevent new oxygen from coming in, they make sure you don’t start out with any oxygen.
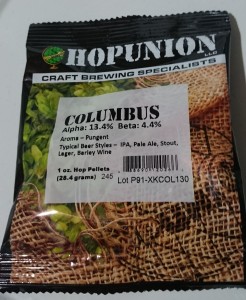
Of course the downside is you don’t get that fresh aroma when you open your fridge, but you can always use your partially-used hops for that purpose like a sort of homebrewer’s potpourri!
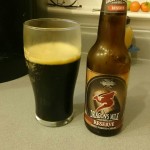
Bottled 10/05/15, drank on 10/29/15. Nice sweet bourbon aroma but not harsh at all. Taste is very pleasant with nice dark malt flavor but no harshness. This is slowly followed by a slight wooden barrel flavor that gives way to a moderate chili kick. Slight alcohol warmth in aftertaste, mixed with chili heat. Great stuff going on, distracting you totally from the 11% ABV.
5 out of 5 Stars.
Faint sweet aroma. First taste is fairly sweet and almost puckering. Finished smoothly with a sweet tinge that gives way to a neutral clean malt flavor.
4 out of 5 Stars.
Great fruity hop aroma. Sharp hop bite with a hop aftertaste that lingers between a harshness and a full palate full of varied hop flavors.
4.5 out of 5 Stars.
Sweet hop aroma. Crisp hop bite, gives way to a harsh hop flavor. Lingering hop aftertaste. Additional drinks mellows the hop edge and makes it nice.
4.5 out of 5 Stars.
Sweet, almost vinegar aroma. Very smooth malt flavor with no significant hop flavor.
3.5 out of 5 Stars.
 There are a lot of things to do before your brew day to ensure you’re prepared and not scrambling around at the last minute. One of those things is to check the Alpha Acid (AA) % of your hops you’ll be using for bittering.
Most brewers are familiar with the equations, or at least the concept thereof, for how to calculate a beer’s IBU based on the AA of the hops you use and when you add them. As you geek out more into this topic and research it, you can quickly find your eyes glazing over as people are babbling on about chemistry reactions and throwing around terms you’re pretty sure they don’t even know what they mean.
From the higher technical analysis of those more chemistry-smart than I, here’s the takeaway that seems to be of practical use. When trying to substitute hops in a recipe, you should get particular about matching the IBU contribution from your bittering hop additions, and for the flavor & aroma additions, try to match the amount/weight.
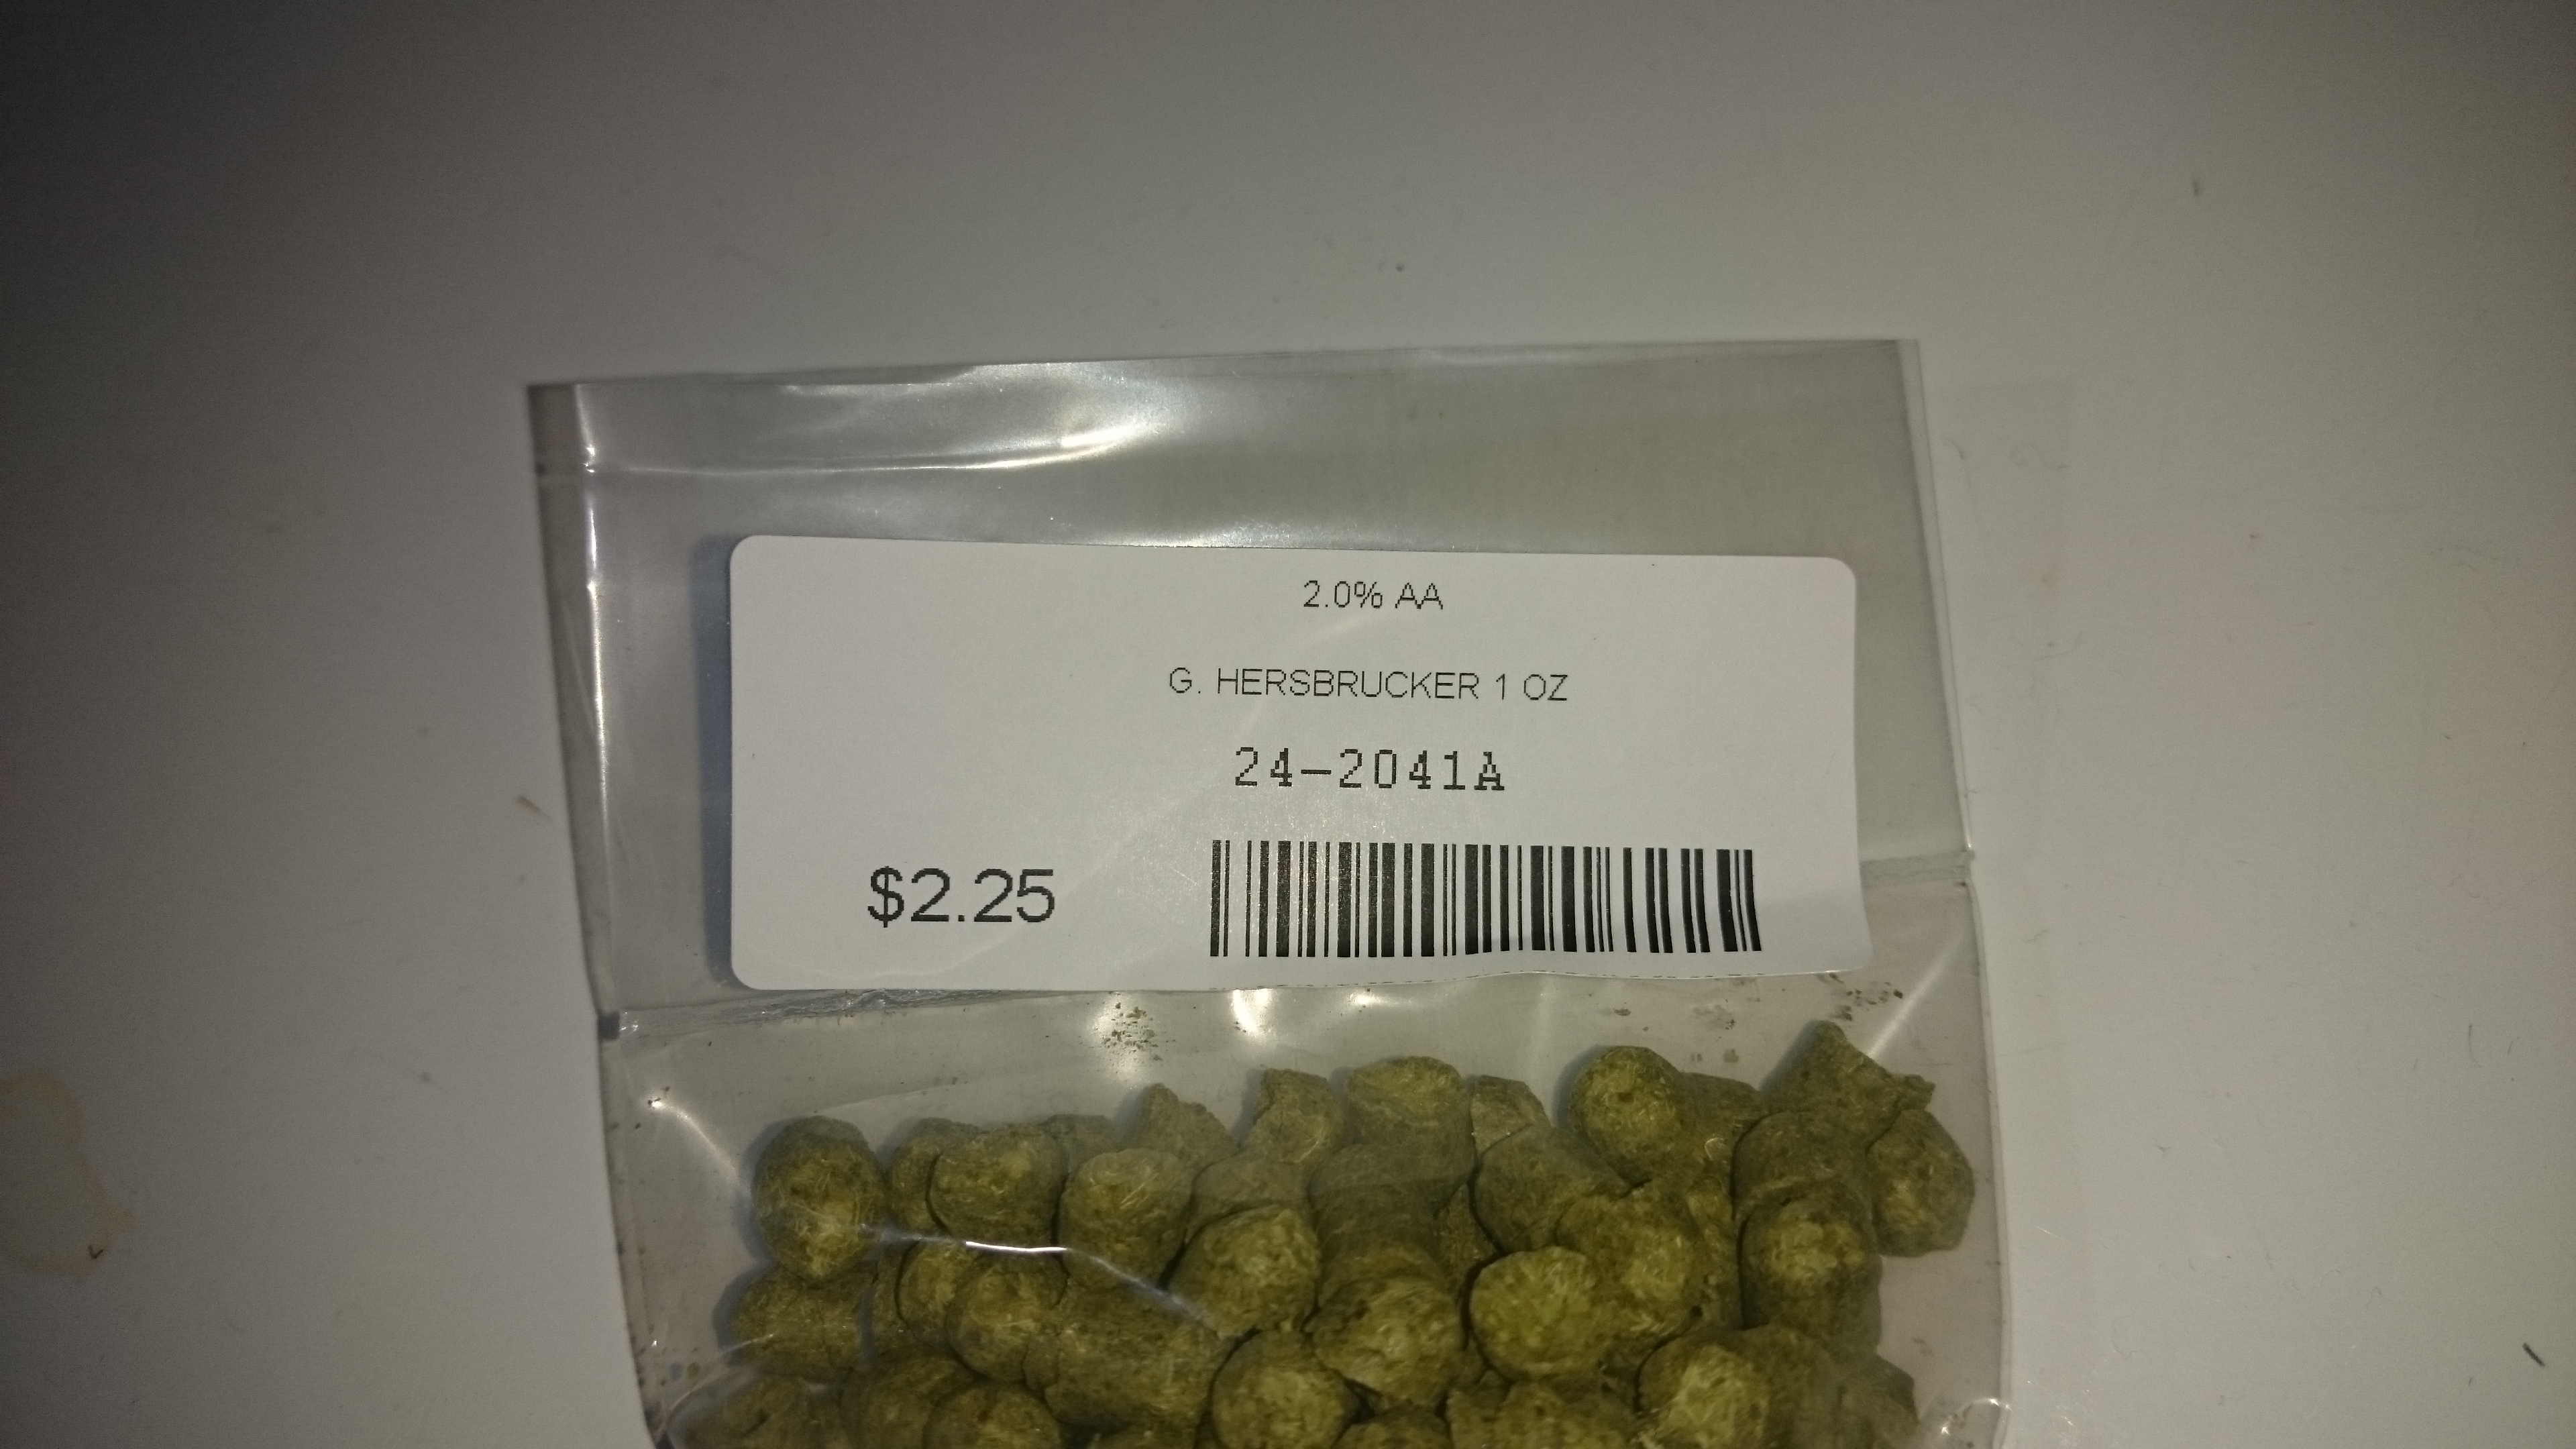
Since hops have a range of typical AA% from batch to batch, you should always check the AA% of the hop you bought from the Local Home Brew Shop (LHBS) and tweak your recipe with your brewing software to get the proper amount of hops to add to get the IBU contribution your recipe is aiming for.
And more importantly, it’s a good idea to do this a couple days before brew day. When you find your bittering hop addition that was planned to be 0.7 oz. of 4% AA Hersbrucker, now needs to bump up to 1.4 oz. since the Hersbrucker hops are running at 2% AA from the LHBS, you’re stuck. Your little 1 oz. packet of hops that previously was going to have some leftovers, now is short and you need to get another one. Discover that on brew day and you’ll have no option but to short-change your recipe on the fly and see how it turns out. Sometimes this creates something unexpectedly good. Other times it results in exactly what you would expect, which is not what you were aiming for when you planned the recipe.